How to build a shower in minecraft
I’m going to share some of the tips and tricks a lot of know that helped me to build a shower in minecraft. So I hope these will help you to do so.
Are you looking for a guide on how to build a shower in Minecraft? This article will show you some designs and ideas for building your own unique shower.
How to build a shower in minecraft
Minecraft is the popular game where you can build anything you can imagine. This article will show you how to make a simple shower in Minecraft. The first thing you need to do is find some cobblestone, which is gray stone with a rough surface. You can find it by mining dirt blocks or mining stone blocks.
Next, you need sand, which looks like yellow sand in the game. You can find it at beaches or dig through gravel blocks. To make your shower room, place cobblestone blocks on the ground and then put sand on top of them so that there are no gaps between them. Then put a door on one side of this room so that people can enter and exit easily. Finally, add some torches so that people don’t trip over themselves while they’re showering!
How to build a simple shower in Minecraft
1. Find a flat area of land for your shower. You can use sand, dirt or stone blocks as the base material.
2. Dig out the floor to create a foundation for your shower room. Make sure that the floor is level and has no holes or bumps in it.
3. Build walls around your shower room with different types of blocks that you have at hand (e.g., cobblestone, wood planks). The walls should be at least 3 blocks high so that they can support the roof later on (see step 6).
4. Construct an enclosed roof by placing blocks above the walls (see picture below). You can make multiple layers if you want (i.e., one layer of blocks on top of another layer), but make sure that each layer is supported by another layer underneath it so that there are no gaps between them (see picture below).
1. Make sure you have enough space for your bathroom. You don’t want to build it and then realize that it’s too small for your needs.
2. Build the walls of the bathroom using stone brick blocks.
3. Make sure that there is enough space between each wall so that you can place the blocks next to each other without them overlapping each other. This will make it easier for you when placing the roof on top of the building later on in this tutorial.
4. Put in flooring on top of all of these walls so they are all connected to each other well enough so that they can stand on their own without falling over or falling apart!
5. Now comes time to add some windows into your bathroom so that you can see out easily while taking a shower or bath! For this step, use glass panes (if you have them) or just use glass blocks if you don’t have any glass panes yet! All windows should be placed onto the inside of your house not outside where they could get damaged from being hit by animals or players!
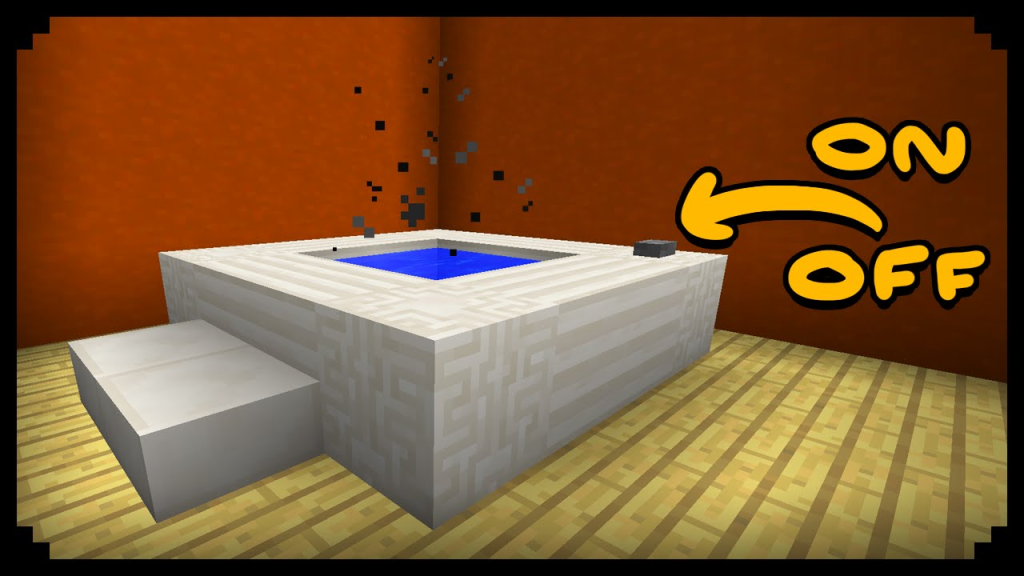
Here’s a simple way to make a shower in Minecraft. It uses only three blocks, and takes up very little space.
First, mine out a 2×2 hole in the ground. Then dig it out further for the depth of your shower (1 block). Then put 3 blocks of dirt on top of this, so that it’s level with the ground. Now you can put a water source under it, and fill up your new shower!
There are a few different ways to build a shower in Minecraft. If you’re just starting out, I recommend using one of the easiest methods to make it easier on yourself.
The first thing you’ll need to do is create a 3×2 area of flooring and walls, as shown below:
Next you’ll want to dig down (with your shovel) so that the top of your walls are at level 6. Once you’ve done this, cover up the hole with blocks until only the top left corner is visible as shown below:
how to make a bathroom in minecraft
Next fill in the rest of the area with water (so that it covers everything but for that last corner) and wait for it to disappear. When it does, replace any block that was removed by the water with dirt blocks again. This will remove all the non-solid blocks from your shower area like so:
Finally use your pickaxe on all sides of this new shape until they’re all level 6 again – then fill in any gaps with cobblestone or smooth stone if necessary! You should now have something like this:
Step 1: Prepare the blocks
You’ll need some glass, stone and redstone. Start by making a 3×3 room with glass for the walls and floor. Then, dig out the corners of this room so it’s a 4×4 room. You can use any material you want for the roof, but since we’re building a shower inside, it’s best to use something transparent like glass or slabs.
Step 2: Build your shower
Now that you’ve got your basic structure set up, it’s time to put in your shower! First, place down redstone torches on either side of each wall. Then place one torch directly above each torch you placed on the floor. Finally, place down pressure plates at each end of each row of torches (this should give you 6 pressure plates total). A pressure plate should be placed directly below each torch and on top of each block adjacent to the torch (but not directly under it). This will activate them all when someone steps on one pressure plate and deactivate them all when someone steps off another pressure plate (see image).
In this tutorial, we will show you how to make a bathroom in minecraft. This is a simple shower made from some glass blocks, but it can be used as a bathroom as well. In fact, if you want to make it more realistic or just for the sake of fun, you can add a toilet, bath tub or even a sink with faucet!
You will need:
-3 glass blocks (alternatively, you can use any other blocks of your choice)
-A few pieces of sand or gravel (to make it look like stone)
How to Build a Shower in Minecraft
In this tutorial I will show you how to make a shower in minecraft. This is very easy and it will only take about 10 minutes.
First, you need to place the walls of your shower. You can do this by placing blocks of any material (stone or wood). After that, put down a flooring block and place a shower head on top of it (you can also use the water bucket).
First we will start with the shower head and grab a bucket. The bucket is used to hold water and we will use it to fill our bucket. Fill your bucket with water and then place it on the ground. Next, use your bucket to pour out the water onto your shower head. Then, pick up your shower head and place it on top of where you poured out the water from your bucket. Now you have a working shower head! Now that we have a working shower head, let’s build the actual bathroom.
You can go ahead and start building the walls around your shower head, but I’m going to cover that in another video due to time constraints (this is already super long). For now, just know that this is how you should be building your walls:
Now that we’ve built our walls around our shower head, let’s build a door! For this part, we’re going to need some wood planks (obtained by using an axe) and wooden doors (obtained by using an axe). Here’s how to put them together: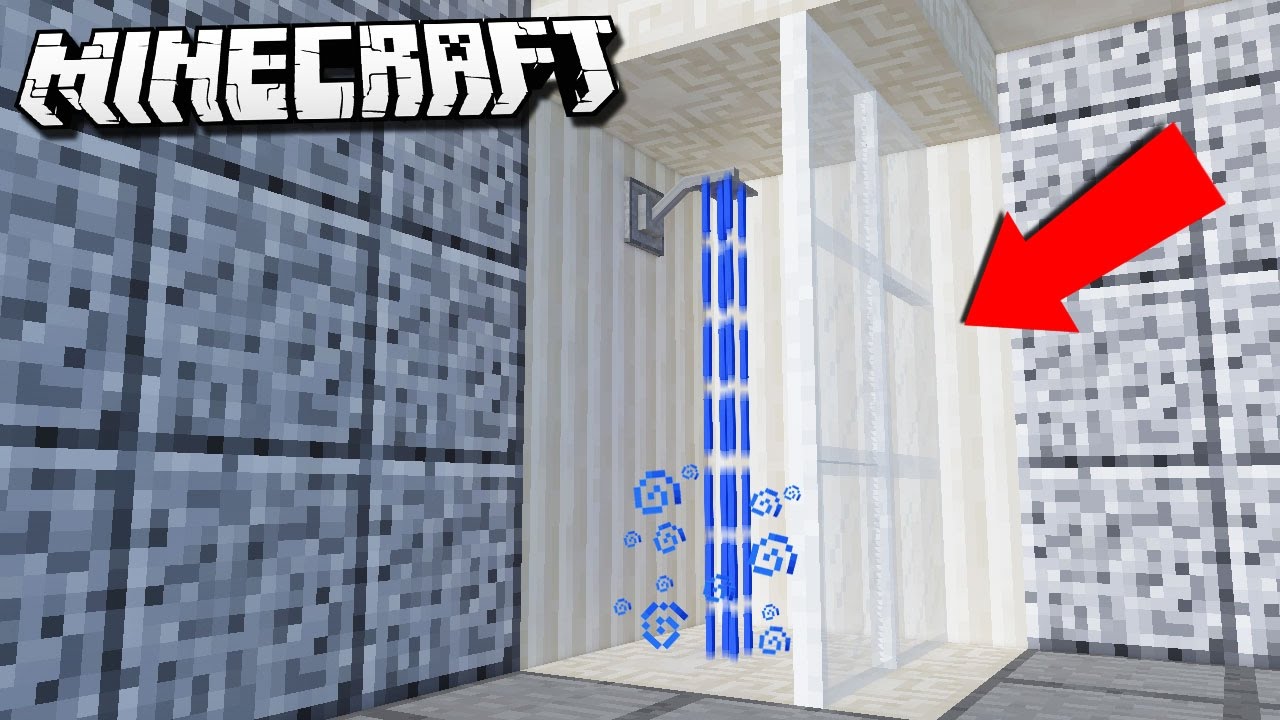
And here’s how they look when they’re placed next to each other:
In this tutorial, we will be building a simple shower in Minecraft. This is an easy to follow step by step guide that will show you how to create your very own shower in Minecraft.
This tutorial assumes that you already know how to build basic structures and how to use the crafting table.
Materials Needed:
To build this shower, you will need only a few materials:
-1 bucket of water (there are many ways to get water in Minecraft)
-2 blocks of cobblestone (you can find them on the ground or mine them)