how to build a free standing pallet wall
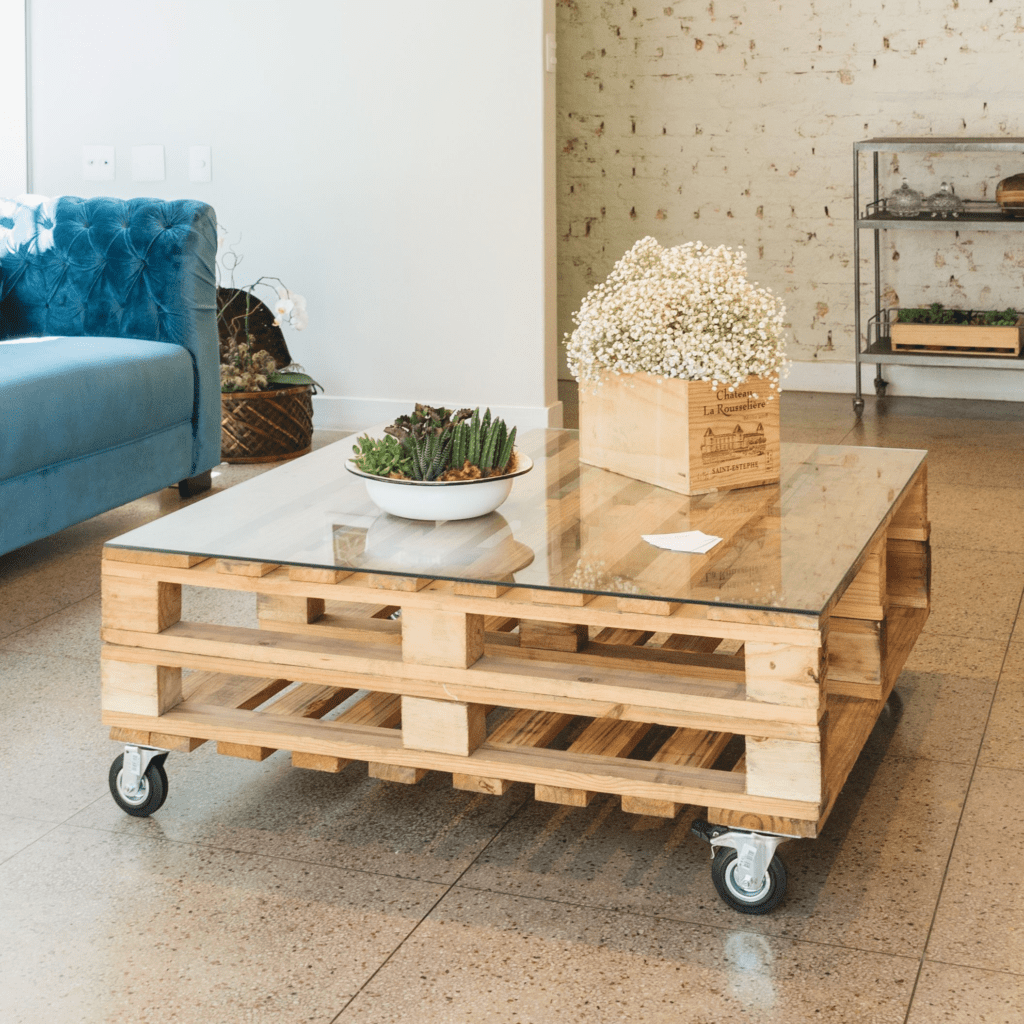
If you are adventurous and creative then you should check out this tutorial on how to build a free standing pallet wall, because it’s just stunning. Let’s face it that pallets are popular and with good reason. These wooden wine crates have many uses around the home, especially when they have been transformed into functional and beautiful pieces of furniture. In fact pallets can be used for building everything from simple stools to extravagant large garden sheds. And the great thing about is that these sturdy wood crates are super easy to work with and relatively cheap to buy. The best part about pallets is you can find them for free all over the place – at local grocery stores, shipping companies or construction sites. If you see an old broken down shed or a pile of abandoned pallets in your area then grab your tools, pick those boxes up and put some new life into your home furnishings. So why not tell us about your next project?
In this blog post, we’ll cover everything you need to know about how to build a free standing pallet wall,. If you decide that pallets are the best building material for your project, here’s what you should do .how to make a pallet room divider how to build a freestanding wall outside how to stabilize a pallet fence
how to build a free standing pallet wall
Pallet walls are a great way to make a freestanding wall, room divider or even an outdoor wall. The best part about pallet walls is that they are super easy to make and cost very little money. Here are some tips on how to attach pallets together:
1) Use a nail gun to attach the boards together. You can get a small nail gun at home improvement stores. It will shoot nails into the wood extremely quickly and easily. The nails should be about 1 inch long, but you can go longer if you want more stability in your wall.
2) Make sure that your boards are straight and level before you start attaching them together. You don’t want any gaps between the boards because that will make it harder for you to attach them properly. If you have gaps in between your boards, just fill them with wood filler and sand down when they dry out completely so that they match up perfectly with each other when you’re done building your wall!
If you need to create a wall that’s free-standing, you can use a combination of nails and screws to attach the boards together.
The most common way to make a pallet wall is using nails and not screws. This is because, unlike with other building materials, the wood doesn’t split when you hammer in a nail. You can also use staples or glue if you want.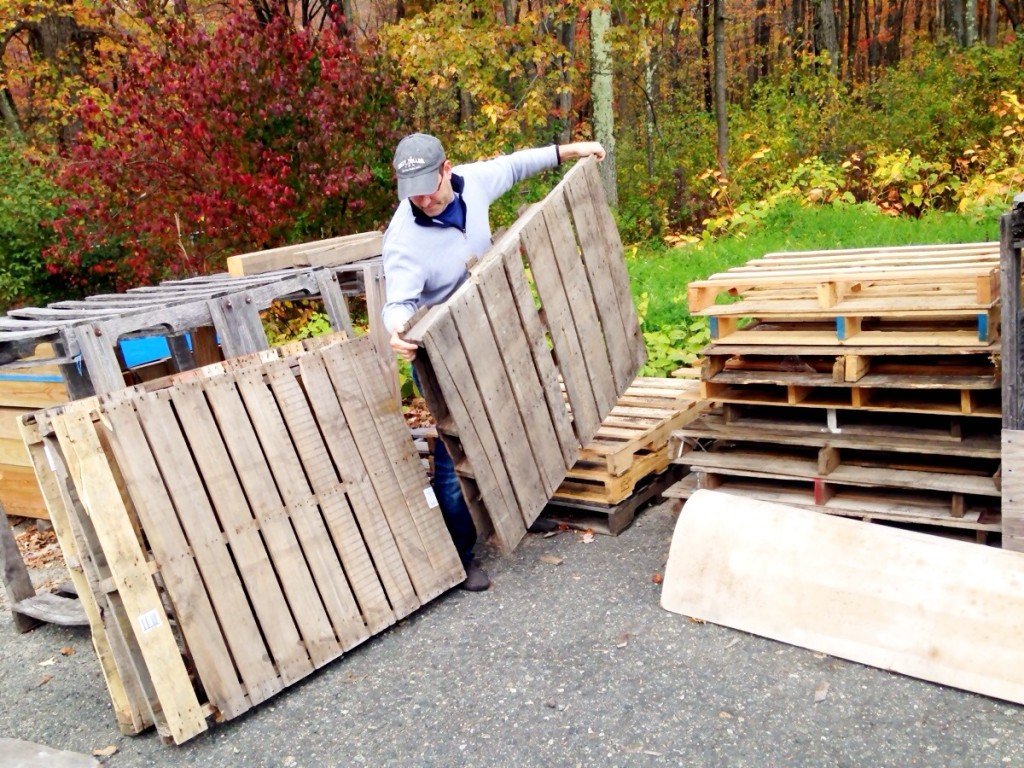
To build your own pallet fence:
1. Measure the width of your pallets (the distance between them). This will be the overall length of your fence once it’s built.
2. Stack up your pallets on top of each other until they reach your desired height. If they don’t reach this height, use additional pieces of wood and attach them together with nails or screws (if you’re using screws, pre-drill holes so they don’t crack the wood).
3. Attach one side of each pallet to another with nails or screws (again, pre-drill holes if using screws). Then attach the top piece down so there are no gaps between pieces when viewed from above (i
How to Attach Pallets Together to Make a Wall
If you have a pallet wall, you might have noticed that the boards are not all exactly evenly spaced. This can be frustrating if you want a straight line of boards for your project. However, there are ways around this problem. You can use the spacers to create a straight line and then attach your boards together.
Step 1: Find a Spacer That Fits Your Needs
The first thing you need to do is find a spacer that fits your needs. There are many different sizes available online, but it also might be possible to find them at your local hardware store or home improvement center. If not, there are many people online selling their own unique designs on sites like Etsy or eBay.
Step 2: Drill Holes into Your Wood Boards
Once you have chosen the right size spacer for your project, drill holes into each board at regular intervals so that they fit on top of each other when stacked together. Make sure that these holes are slightly smaller than the diameter of the screws or nails that will be used so that they do not fall through when you try to screw them down later on in this process.
How To Attach Pallets Together To Make A Wall: Step 1: Trace the pallets on the ground. Place two pallets side by side and trace around them with a marker or chalk.
Step 2: Cut out the outline of the two pallets using a sawzall or any other saw that can cut through wood.
Step 3: Sand down all sides of the cut out area so they are smooth and even with one another. Make sure you sand the top and bottom edges of your cut out area as well as all sides so that they are even and smooth when you attach them together.
Step 4: Measure the width of your cutout area and mark it on each side piece so that they will fit together when put together like puzzle pieces. Mark them at both side pieces so that they will fit together perfectly when connected together, making sure there is enough room for screws to pass through both pieces at once without overlapping each other in any way.
The pallet wall is a great DIY project for those who want to save money and also do something creative with their space. You can use this kind of wall in many ways, including in the garden or even inside your home.
This post will show you how to make a pallet wall that uses two pallets as the main structure and then how to attach additional pallets to create the desired look and effect.
how to build a freestanding wall outside
Making a freestanding wall is easy and it can be done for less than $100. You can use pallets, cinder blocks and bricks to build a freestanding wall.
First, you will need to gather pallets. The best type of pallet to use is the one made from pine or fir wood (the best ones). If you don’t have access to them then you can use any other types of pallets as well.
Second, check the condition of your pallets by making sure that they are not broken or damaged in any way because it could cause problems during the construction process.
Thirdly, cut the wood planks into smaller pieces so that they are easier to handle when building your wall. Just take one plank at a time and cut it with a circular saw or jigsaw until they are all cut in half vertically.
Fourth, make sure that each piece has two nails on top so that you can secure them together using screws later on in this tutorial.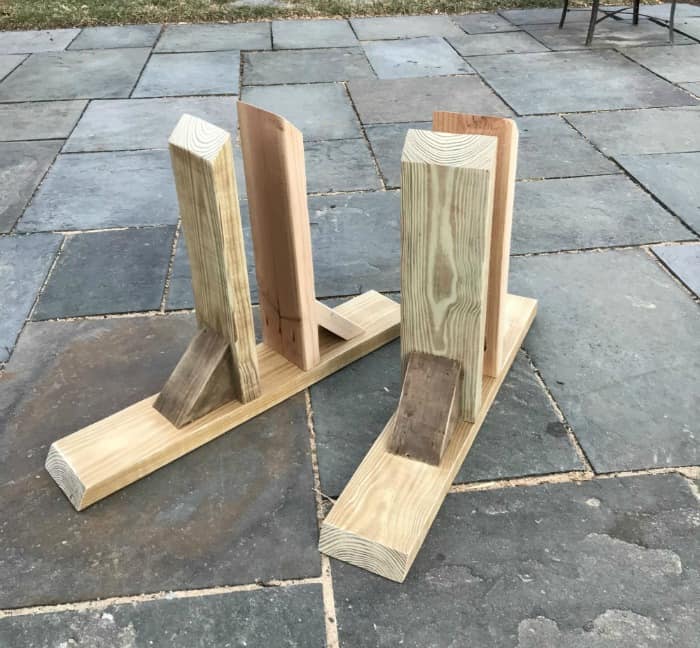
Fifth, take two nail-less planks and connect them together using screws as shown in the picture above (make sure that both of them have two nails each before connecting them together). Repeat this step until