How to build a flower bed on a slope
Are you struggling to create a flower bed on a slope? You don’t have to resign yourself to an unattractive, drifting border that constantly needs resetting. By understanding the basics of how slopes work, you can apply the same techniques in your garden to get a beautiful, low-maintenance and water-efficient flower
bed.
How to build a flower bed on a slope
1. Lay out the area you want to build your garden on.
2. Dig out the soil, level it and make sure that the ground is solid enough to support the weight of the stone. The ground must be flat and smooth.
3. Go to the home improvement store and get some landscaping stones that are large enough to cover your garden area. You can also use concrete pavers if you wish, but they tend to be expensive and heavy compared to stones that are easy to carry around and install yourself. You can also use smaller stones if you have no help with this project as long as they’re not too heavy for one person (or two) to carry around easily.
4. Lay out your stones in whatever pattern you like so that they will form an attractive flower bed once finished, taking care not to skip any spaces between them so that dirt won’t fall through when you plant flowers or vegetables later on!
5. Once everything is laid out properly, take a hammer or mallet and pound each stone into place until firmly embedded into the ground (don’t forget about any spaces between stones as mentioned above). Make sure each
If you have a slope in your yard, you can build a beautiful flower bed on it. You’ll need to make sure that the ground is level and stable before you start building the bed. You can do this by adding soil or gravel to level out the slope.
If you’re using gravel, dig out a trench along the bottom of the slope. Make sure that it’s wide enough for a wheelbarrow to fit into easily. Then spread the gravel over top of the trench so it covers at least one-third of your yard space.
If you’re using soil instead of gravel, use landscape fabric underneath and around your flower bed’s perimeter so that there won’t be any weeds growing in your new garden space.
Once you’ve leveled out your yard space and prepped it for building, it’s time to start building your stone flower bed!
Building a stone flower bed on a slope can be tricky. The goal is to create a flat surface for planting, but you also want the bed to look attractive. The easiest way to do this is by making sure that each layer of stones is slightly higher than the last.
This process takes time and patience, but it’s worth it in the end because it will give your garden a unique look.
Step 1: Preparing the Soil
Start by digging out any weeds or grass from your yard so that you have an area with just dirt. Then add some compost to improve its fertility and structure. Finally, make sure that there are no rocks or roots buried deep down that would make it difficult for you to plant anything later on.
Step 2: Layering Stones
Once everything has been prepared, start laying down small rocks in layers until they are about 2 inches thick. For example, if you want your flower bed to be 6 inches deep and 4 feet wide then you’ll need at least 12 layers of stones (6 inches × 4 feet = 24 inches). If you’re going for something more dramatic then double those numbers!
A garden bed on a slope can be tricky. But with a little know-how, it’s not hard to build one that looks great and is easy to maintain.
Here are some tips for building a flower bed on a slope:
Start with the right soil. The best soil for growing flowers and vegetables is loose, fertile and well drained. This type of soil will help your plants get the nutrients they need for healthy growth.
If your existing soil is poor, you can add organic matter such as compost or manure to improve its texture and drainage. You can also add peat moss or sand if the soil drains too quickly for plants’ liking.
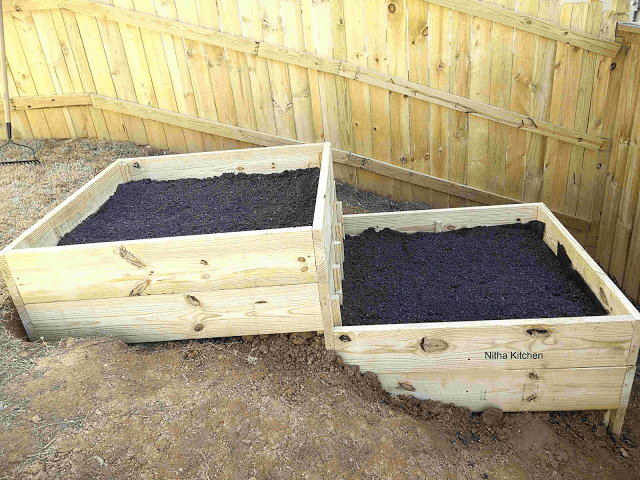
Work with what you have. If you have a steep slope, consider building raised beds instead of digging into the ground — this makes it easier to reach all areas of the bed from above rather than below! You can also use retaining walls made from stone or brick to help stabilize your slope while still allowing room for planting at different levels within the same bed space
How to build a flower bed on a slope
Building a flower bed on a slope can be done in several ways. The easiest way is to build the bed as you normally would, but with the addition of retaining walls. This will keep your flowers from falling over, but it may not look as good as if you build the entire thing at once.
If you want a more natural look, consider creating terraces in your slope. This is a good option if you want to grow vegetables or fruit trees on one side, and flowers and ground cover on the other side.
Step 1: Dig out the area where you want to build your flower bed.
Step 2: Build retaining walls around each side of your slope and fill them in with dirt from inside the garden area. This will allow you to plant flowers without worrying about them falling over when they get too heavy with rain water or snow melt.
Step 3: Dig into the ground underneath each wall until you reach solid rock or strong soil that won’t erode away easily when it rains or snows heavily (about 4 inches deep).
Step 4: Lay down large rocks or bricks in between each wall to serve as additional support for them (this
A tiered garden bed is a great way to make the most of your space, and it’s easy to build.
You can use the same concept for your vegetable or flower garden — or even build a tiered planter box in your backyard.
How to Build a Tiered Garden Bed on a Slope
The first step is to level out the ground where you will be building your tiered garden bed. If you’re on a slope, this might mean digging into the hillside so that each tier is level with one another. You can also use landscaping stones or bricks to make sure each tier is at the same height.
Next, you’ll want to line up the boards along the sides of your bed so that they’re perfectly straight and flush with one another. Then attach them together with screws (or nails) every few inches along both sides of each board.
Once you have all of your boards lined up and attached together, grab some soil and fill in around them until each tier reaches about half an inch below its neighbor’s top edge — this will help keep it secure and prevent soil from spilling over onto other tiers during watering or rainstorms
How to Build a Tiered Garden Bed on a Slope
Building a tiered garden bed on a slope can be tricky, but it’s easier than you think. If you have any experience with landscaping, you know that building in the landscape can be extremely challenging. The ground may be uneven, or even sloped. You might want to add more soil for your plants and flowers, but how do you make that happen on an incline?
The answer is simple: build a tiered garden bed on the slope! This will give your plants just what they need — fertile soil and plenty of room for growth. Here’s how to build a tiered garden bed on a slope:
1) Begin by clearing away any existing vegetation from your desired location. This can include weeds, grasses and shrubs. Use weed killer if necessary to prevent regrowth before laying down new sod or planting new flowers and veggies in their place.
2) Mark out where each tier of your garden bed will be built using stakes and string or rope. Make sure there is at least 6 inches of space between each tier; this will allow water drainage between levels so that excess moisture doesn’t collect in one area of your new
The first thing you need to do is plan your garden. You can use graph paper or any other kind of drawing tool to map out the size and shape of your garden bed.
The next step is to mark out where the corner stones will go. This will give you a good idea of how large your foundation needs to be. You will also need to mark out where your first layer of stone will go and how many rows you want in between each layer.
Once you have everything marked out, it’s time to get started with building your tiered garden bed on a slope!
How to Build a Tiered Garden Bed on a Slope
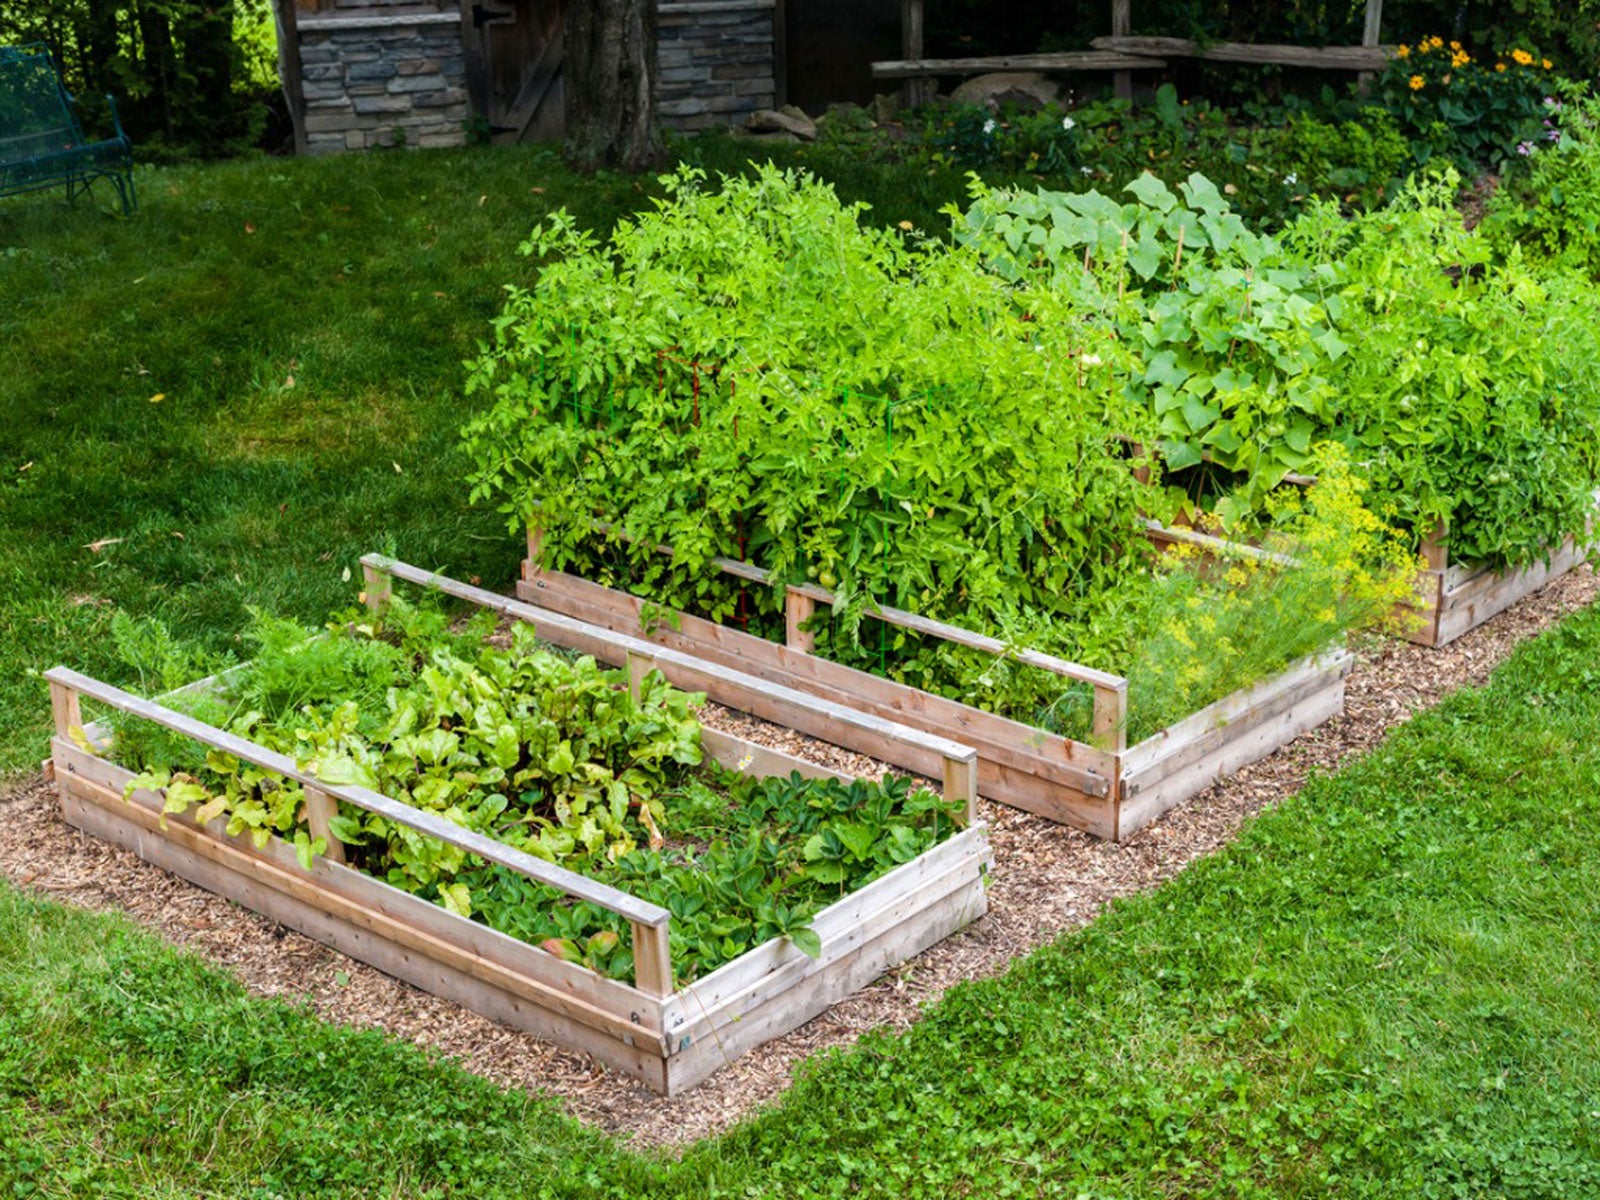
A tiered garden bed is an excellent way to add some flair to your landscaping project. If you have a sloped yard, creating a tiered garden is a great way to make use of the space. It’s also relatively easy to do if you follow these steps:
1. Start with Level Ground
You will need level ground in order to build your tiered garden bed, so start by leveling the ground before beginning construction. You can use dirt from another part of your yard or hire someone to come out and level it for you.
2. Dig out the Soil
Once you have leveled the ground, dig out about 3 inches of soil from each tier that you want for your tiered garden bed and remove any rocks or roots that may be in the way.
3. Add Drainage Material
Next, add drainage material such as gravel or crushed stone around each tier of your garden bed so that water has somewhere to go when it rains or snows. You may want to consider adding this material at least 6 inches deep around each tier if you live in an area where there is a lot of rain or snowfall during the year.
The first thing you need to do is level the ground. You’ll want to make sure your garden bed is level in all directions. If there are any hills or valleys around, it’s best to fill those in and level them out first.
Once you’ve got your ground leveled, you can begin constructing your tiered garden bed. One way to do this is by building a rectangular frame out of wood and attaching it to the ground with stakes. You can use any type of wood for this purpose—cedar or pine works well, but pressure-treated lumber (such as cedar) will last longer and withstand weathering better than other types of wood.
The size of your frame will depend on how big you want your garden bed to be; however, a good rule of thumb is that each tier should be approximately 1 foot (30 cm) wider than each tier below it. This means that if you want three tiers (and most people do), then each tier should be at least 3 feet wide (90 cm). A 4×4-foot (120×120 cm) space will give plenty of room for growing plants and flowers while still allowing enough room for walking through the garden bed without stepping on plants or soil