How to build a stand up shower
To build a stand up shower (if you’ve seen the newest single from Taylor Swift, you might have some new inspiration to do so), can be done on a concrete floor. Although, it is highly recommended to build your stand up shower on a solid substrate of thick plywood.
Because a stand up shower has a built in seat, it is much more comfortable than using a separate bath tub. By utilizing available space, you can build a stand up shower in your basement also.
How to build a stand up shower
If you have a stand up shower that’s been built over a concrete floor, you may be able to simply remove the old tile and replace it with new. However, if the tile is well adhered to the concrete or if the surface of the concrete has been damaged by water or other elements, you may need to remove the entire slab before you can install your new shower.
To begin, use a level to mark along one edge of your existing tile or shower pan. This will serve as a guide for digging out and removing all of the material below where your new wall will sit.
Use a shovel or other digging tool to dig out as much material as possible from around the area where your wall will sit. If there are any pipes or electrical lines in this area, make sure they are completely exposed before continuing with this process.
Once all of this material has been removed, use a sledgehammer to break up any remaining chunks of concrete that are too big to fit through the opening left by your previous work. Make sure you wear protective gloves, eye protection and earplugs during this step because it can get noisy when using large tools like hammers or sledgehammers on concrete!
To build a stand-up shower, you’ll need to follow the same procedures you would use to construct a bathtub. A stand-up shower should be built on a concrete pad, which will prevent the structure from sinking unevenly into the ground. If your home already has a concrete floor in place, you can simply build the wall and flooring around it. If not, you’ll need to install cement blocks or other materials for support.
To build a stand-up shower on concrete floor:
Mark out your base using 1×4 lumber and stakes. Put stakes every 4 feet along each side of the shower base to mark where the walls will go. Use an electric straight edge as a guide to make sure your lines are straight and even with one another.
Create wall frames by nailing together pieces of 2×4 lumber and attaching them to the base with screws or nails. You can also use pre-made shower bases manufactured by companies like Pulte Homes or Centex Homes if desired. Make sure that each frame is level with one another by checking them against each other as well as the stakes in between them
Building a custom built shower is not an easy task and should be done by professionals. Before you begin building your own stand up shower, read through this guide to ensure that you are prepared for the project ahead.
Stand up showers are great for small spaces such as bathrooms or small bedrooms. They do not take up much space and allow you to move around freely while taking a shower. If you want to install your own custom built stand up shower, follow these instructions:
Step 1: Mark out the area where you want your shower to be installed. Make sure that this area has enough space for installation of pipes and drains. Mark out the place where you want your faucet to go and mark out the area where you want your drain cover to be installed.
Step 2: Excavate the area where the drain will be installed by using a shovel or an auger drill machine if needed. Fill up the hole with gravel and make it level with the rest of ground surface so that there would not be any leakage problems after plumbing works are completed.
Step 3: Install pipes that will carry cold water supply into your new stand up shower unit
A stand-up shower is an attractive, efficient and convenient way to bathe. The bathtub can be removed and the shower installed in its place. The instructions for building a stand-up shower are similar to those for building a regular tub.
The first step is to remove the old bathtub and install a shower pan that is at least 1/2-inch thick. If you’re replacing an old tub, you may have to remove it first and then install the pan.
Next, measure the size of your new shower pan and cut out the hole in your wall with a circular saw or jigsaw. Use plywood or rigid foam insulation as backing material on both sides of your opening so that water doesn’t seep through the backside of your wall when you’re finished with construction.
Install all plumbing fixtures before adding drywall, tile or other finishing materials over your new tub/shower enclosure.
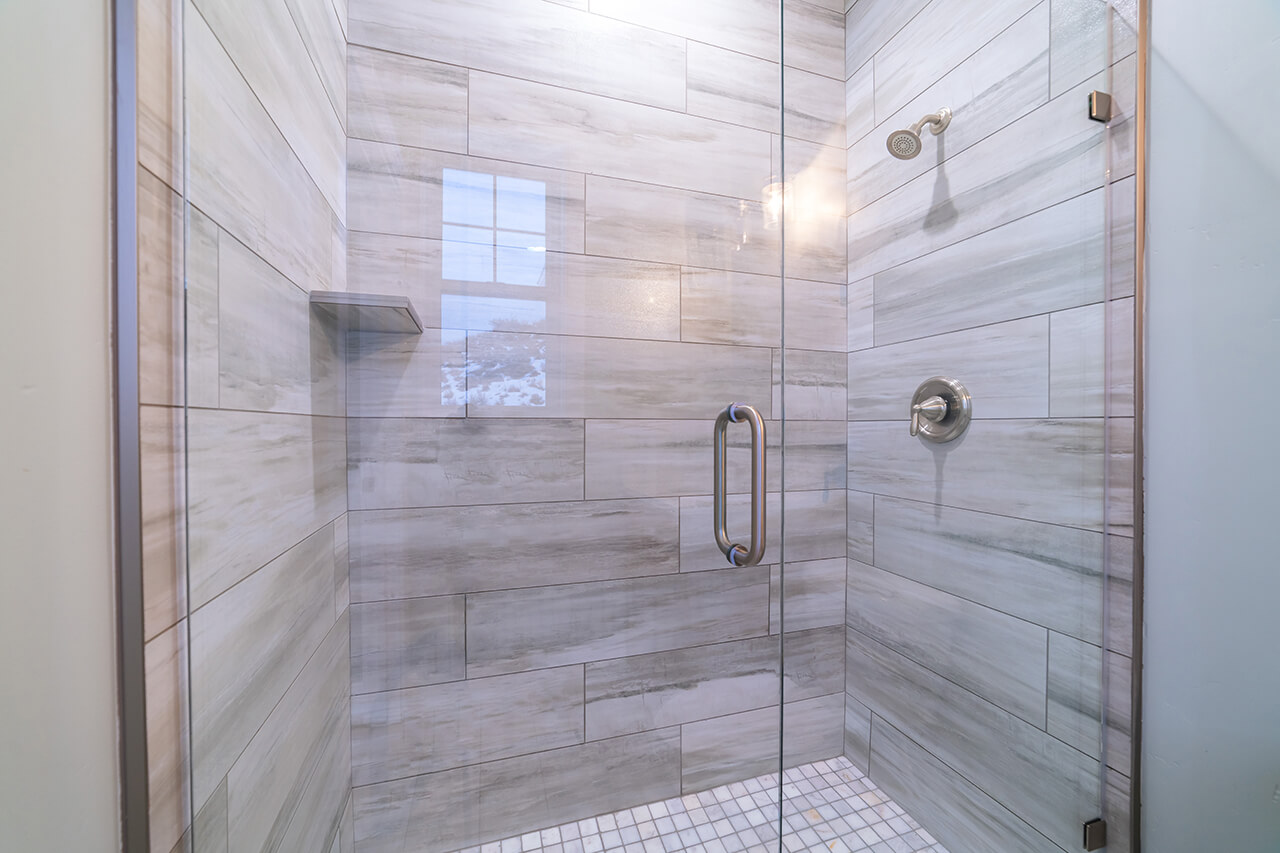
The stand-up shower is becoming a popular option for homes. The shower stall will have a base of cement, and the walls are made of fiberglass or acrylic. The floor can be tile or a solid surface like epoxy.
The stand-up shower has several advantages over traditional bathtubs:
It’s more efficient for homeowners who want to save water.
It’s easier to clean, because you don’t have to bend down to scrub the tub floor or walls.
It’s more versatile than a bathtub, since you can use it as a walk-in shower or as a shallow soaking tub with your feet on the floor.
You can install it in an existing bathroom without tearing out the walls and replacing them with new ones (as would be required for a complete remodel).
How to Build a Stand-up Shower on Concrete Floor
If you want to know how to build a stand-up shower in your basement, there are many things that you will need to consider. The first thing that you need to do is make sure that your concrete floor is ready for the job. You can do this by cleaning it with soap and water and then drying it off with a towel. If there are any cracks or holes in the floor, you will need to fill them in with concrete or epoxy filler. You will also want to make sure that your shower drain pipe has been installed properly so that it does not leak when water flows out of the shower head. You should also install grab bars near the shower stall so that people who are handicapped or elderly can easily reach them when they are showering.
Installing Your Shower Stall
Once you have prepared your concrete floor for installation, it is time to begin building your new stand-up shower stall. Begin by placing down a layer of 6 mil plastic sheeting over the entire area where your shower stall will be located. Next, use duct tape around all edges of the plastic sheeting and secure it tightly against the concrete floor with nails or adhesive tape
If you have a basement, you might be thinking about turning it into a home gym.
But if you’re not into lifting weights or doing sit-ups, there’s another option.
Building a stand up shower in the basement can give you a place to relax and unwind after a long day at work.
The best part is that it doesn’t take much work to construct one of these showers.
In fact, if you have some basic construction skills, you can build a stand up shower in your basement in just a few hours!
A stand-up shower is an enclosed stall with a door that allows you to enter and exit the shower area while standing up. The shower base is usually made of tile or stone, and the walls are reinforced with cement board and sheetrock.
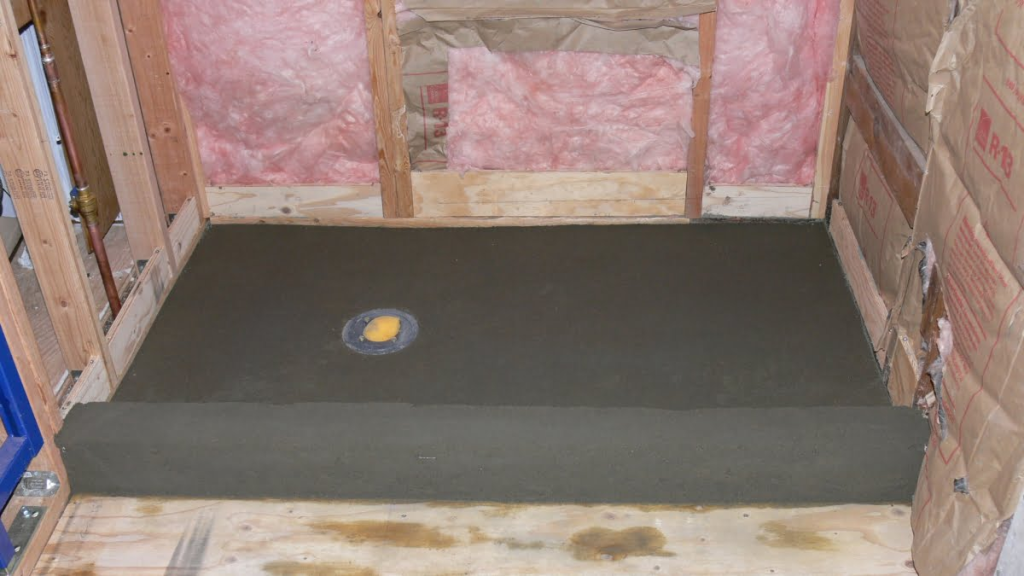
The most important step in building a stand-up shower is waterproofing the floor. This can be done by installing a drain in the floor and pouring concrete over it. To ensure that the concrete is thick enough to support the weight of a person, use a mix ratio of 1:2:4 (cement:sand:gravel). You should also install waterproofing membranes around pipes that run through the shower base before pouring concrete.
After you’ve finished waterproofing your concrete floor, you’re ready to build walls around it. Follow these steps:
Measure and cut pieces of sheetrock for each wall. Align them on top of your baseboard so that they fit tightly against each other without overlapping. Secure them together using screws or nails, leaving an opening between each piece for wiring or plumbing later on in construction process.
Cover each seam between pieces of sheetrock with drywall tape before taping over entire surface using drywall compound (modeling
A stand-alone shower is a great way to add functionality and value to your home. If you have an unfinished basement, it’s also a quick and easy project.
The biggest challenge is figuring out the plumbing. If there’s already a drain on the floor, all you have to do is get the hot and cold lines connected. But if you’re starting from scratch or if there isn’t enough room for both a shower and a vanity sink, you’ll need to install new drains and supply lines.
The first step in building a stand-up shower is installing the plumbing pipes that carry water into the unit. The pipes should run from a main line under the house to the wall behind where your shower will be located.
Next, install drainpipes leading away from your shower area down into an existing drain line or sump pit somewhere else in your basement or crawlspace (if present). This will prevent water from leaking onto your floor from above and causing damage over time.
Building a stand-alone shower is not as difficult as it might seem. The first step is to select the location for the shower, which should be in an area that has good drainage and plenty of space. It also needs to be accessible, so you can get into it easily by yourself. You’ll want to check with your local building codes before starting construction.
The next step is to build or buy a base for the shower pan, which will support the rest of the plumbing and framing. There are many different types of bases available, including pre-built kits that come with all necessary parts included. Some bases have legs which can be bolted directly into place while others are designed to sit on top of concrete blocks.
Next comes framing the walls around the base using 2×4’s or similar lumber. You’ll need at least one stud on each side of the opening where the shower will go because this is where your plumbing pipes will run through later on during installation. Make sure all studs are level and plumb before continuing on to installing any insulation or drywall inside your walls so that they’re ready for tile work later on down the road (or just skip this step altogether if you don’t care about what’s behind