How to build a storage cabinet
If you’ve ever bought a tool, you know that they can be pretty expensive. After buying your first tool and using it to build something, you’ll probably think “I wish I knew how to build a storage cabinet so that I didn’t have to spend all my money on these tools!” Well, I’m here to tell you that there are alternatives. There are ways to save money and learn how to build a storage cabinet.
Follow these directions to learn how to build a storage cabinet. The first step is to measure and cut the four sides. Then, add the back and shelf on each side. After attaching the sides to the bottom boards, attach a side to the shelves and the back. Then, you can add two coat hooks and a shelf at the top of each side.

How to build a storage cabinet
1. Measure and cut the plywood for the cabinet sides, back, bottom and shelf. The sides are 1 x 2s, the back is 1 x 4, and the shelf is 3/4-inch plywood. Cut the side and back pieces to fit inside the two 4-foot by 8-foot sheets of plywood and cut the shelf from a single sheet.
2. Use glue and nails to attach the plywood pieces together for each side of the cabinet. The front panel should be flush with the other four panels when it’s attached. Attach one side piece to an end panel first, then add glue and attach them together at right angles at both ends (Photo 1). Repeat this process with each end panel and side piece until all four sides have been assembled into one unit.
3. Use glue and nails to assemble the top and bottom of each cabinet section (Photo 2). Use clamps or weights to hold everything together while it dries overnight. You can also use pocket screws here if you prefer not to use nails or glue but be sure they’re installed properly before continuing on with this project
Building a storage cabinet is easy and requires very little skill or experience. You can build it in a weekend, and it will last for years to come.
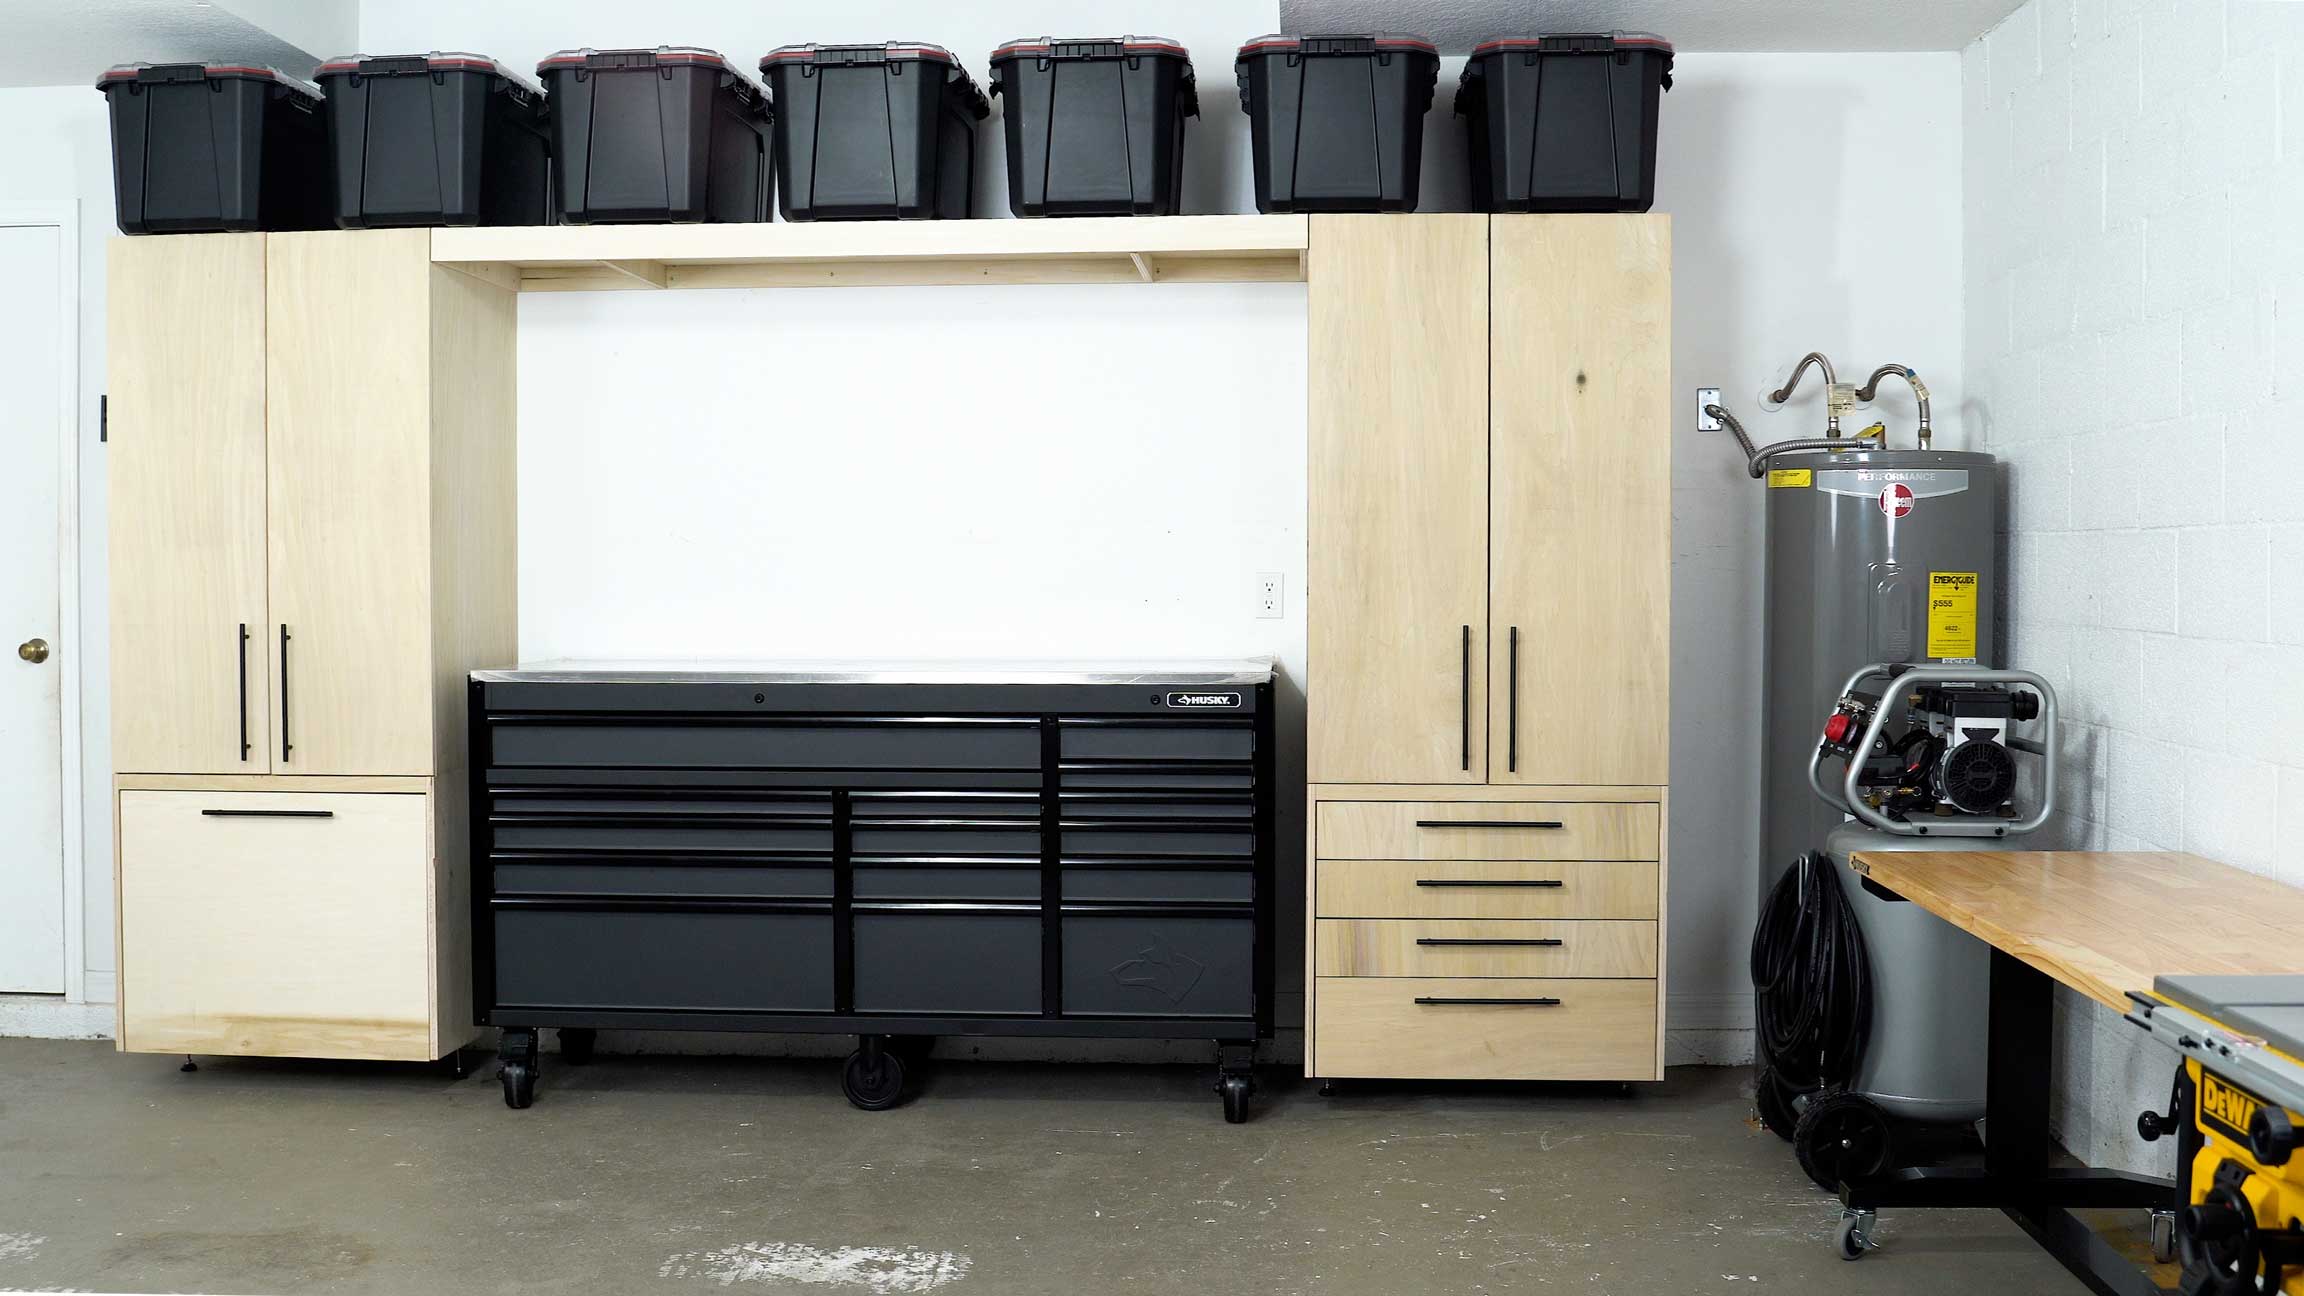
The following steps will show you how to build an open-shelf storage cabinet that can be used as an accent piece in your home, as well as a place to store items in your garage or basement. The finished dimensions of this storage cabinet are 48 inches wide by 24 inches deep by 72 inches tall (1.2 meters x 0.6 meters x 1.9 meters). It’s big enough to hold all sorts of stuff, but small enough not to overwhelm an area where you want more space for things like furniture or appliances.
You’ll need a few tools for this project:
Power drill/screwdriver
Carpenter’s square (or framing square)
A storage cabinet is a great way to keep your things organized and tidy. They come in all kinds of shapes and sizes, and they can be built to suit any room of your home. Whether you want one for the garage or the kitchen, we’ll show you how to build an attractive and functional cabinet that will last for years to come.
What You’ll Need:
Wooden board (for the sides)
Wooden board (for the top)
Wooden board (for the bottom)
Corner bracing strips (4)
Screws (2 1/2″)
Storage cabinets are great for any room in the house. They can be used for storing toys, clothes or anything else you want to keep out of sight. The best part is that they don’t need to be built from expensive materials. You can build one yourself using cheap pine boards and a few tools.
Step 1: Choose Your Materials
The first thing you need to do when building a storage cabinet is choose the right materials. You will need:
Plywood sheets – for the sides and top of your cabinet
3/4″ plywood – for the bottom (you can use thinner plywood if you want)
1×2 furring strips – for the back of your cabinet
Furring strips are thin pieces of wood that are often used as a baseboard in homes. They are easy to cut and install, but they have no structural strength so they should not be used on their own when building cabinets or other projects where strength is required. Instead, furring strips should be used as part of a frame which will hold up the rest of your cabinets structure. They also come in different widths, so make sure you buy some that are wide enough for your project!
Sandpaper – for smoothing out
Cabinets are a great way to organize your garage, basement or utility room. They’re also easy to make with plywood and the right tools.
Here’s how to build a simple and sturdy cabinet in just a few hours.
Materials needed:
Plywood – 1/2-in. plywood works well for storage cabinets. If you plan on using any drawers, use 1/4-in. instead of 1/2-in. plywood for better drawer performance and strength. You’ll need about 2 sq. ft. per drawer plus an extra piece for the back of each drawer, so plan accordingly for the number of drawers you want to build into your cabinet.
Pocket hole screws – These screws have a round head that allows them to be used without predrilling holes in the wood (which can split it). Make sure they’re long enough to go through both thicknesses of plywood and into your workbench or floor (about 3-1/2 in.) so they don’t leave marks behind when you remove them later on after construction is complete.
How to Build an Outdoor Storage Cabinet
Building a storage cabinet is much easier than you might think. A simple outdoor storage cabinet can be built in a few hours using basic carpentry and hardware skills. The instructions below will show you how to build a small outdoor storage cabinet using common materials.
Step 1: Use the tape measure and pencil to mark the location of each shelf on the underside of the top and bottom pieces of plywood.
Step 2: Place one piece of plywood facedown on a flat surface and position the other piece facedown directly atop it so that they align perfectly along their edges. Clamp them together with bar clamps as shown in Figure 1, then drill pilot holes at each pencil mark using an electric drill fitted with a drill bit sized for lag screws (see Photo 2).
Step 3: Set each shelf aside and turn your attention to building the sides of the cabinet. Cut two 2x4s into four equal lengths measuring 1-1/2 inches longer than your desired finished height for each side panel. Lay out two side panels on a flat surface as shown in Figure 2, then place two 1×4 boards across them at right angles so that each board fits snugly inside
A simple storage cabinet can be a great addition to your outdoor space, whether it’s an apartment balcony or a large backyard. You can make one yourself with a few supplies and tools.
Build a Small Storage Cabinet
Start by measuring the size of your outdoor space and planning where you want the cabinet to go. Then measure the length and width of what will be the back wall of your cabinet, as well as its height. This will help you determine the size of plywood sheets you’ll need to buy. You’ll also need lumber for framing and 4×4 posts for support, depending on how large your cabinet is going to be.
Cut several pieces of plywood for the sides of your cabinet, using a circular saw or jigsaw with a fine blade installed. Make sure each piece is cut straight along both edges — if you have access to an miter saw or table saw, use that instead so that all of your cuts are perfectly square (90°). Cut more plywood pieces for the front panel and top shelf; these should be slightly smaller than the other parts so that they fit snugly into place when you assemble them later on in the project. Assemble these pieces into frames using wood glue and finishing nails or screws driven through predrilled holes
Outdoor storage cabinets are a great way to keep your yard tools and other items organized. They can also help keep your garage or shed more organized. You can build a simple outdoor storage cabinet using basic tools and materials. Use this guide for instructions on how to build an outdoor storage cabinet.
Materials and tools required
Step 1: Gather the materials needed for building the outdoor storage cabinet. The materials needed are:
1 sheet of plywood measuring 1/2″ thick by 8′ x 4′ (can be substituted with two sheets of 1/4″ plywood)
2″ nails or screws
3 hinges
2 handles
How to Build an Outdoor Storage Cabinet
An outdoor storage cabinet is a great way to store your tools and other items outside. You can build this project in a weekend, using common tools and materials.
The first step is to cut the pieces of 2-by-4 lumber according to the cutting diagram below.
Next, cut the pieces of 2-by-8 lumber according to the cutting diagram below.
Assemble the frame as shown in the photos below. Use 3-inch screws for all joints except for those where two pieces overlap (where nails or spikes may be used). Drill pilot holes before driving screws or nails. Make sure all joints are tight and square before continuing with assembly.
After assembling the frame, attach it to 4×4 posts set into concrete blocks as shown in the photos below. Use 3-inch screws for attaching crosspieces (A) and bottom rail (B), and use nails for attaching top rail (C).
Building a small storage cabinet is a project that can be completed in a weekend. You can use it for extra storage in your garage or to hold lawn tools and gardening supplies. The materials are inexpensive and easy to find at any home improvement store.
Cut the plywood sheets to size using the circular saw. For this project you will need two 24-by-36-inch sheets for the base and one 36-by-48-inch sheet for the top
Mark where you want to place your hinges on the side panels and mark where they will attach to the back of each panel with blue painter’s tape. This will help you keep track of where everything goes when it comes time to assemble your cabinet
Use 1/2-inch screws to attach each hinge onto each side panel by drilling pilot holes into each edge of each hinge first, then screwing through the backside of each edge with a drill/driver
Attach one side panel onto the back panel by aligning their edges flush together and drilling pilot holes through both pieces at once using a drill/driver. Then use 1/2-inch screws to secure them together
Attach two more sides to form an open box shape with two remaining sides attached together