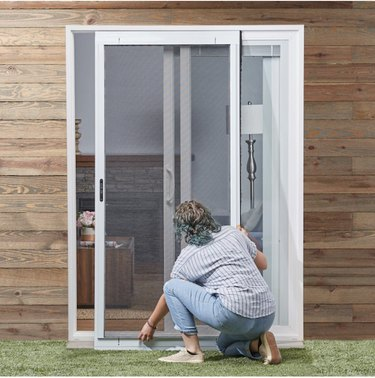
Screen doors with frame
Life is full of little surprises. The right screen door can be a great addition to any home, making it not only more secure but also much more appealing. In this article, we’ll explore the amazing world of screen doors, highlighting their specific benefits and highlighting the best places to find high-quality products that are sure to enhance your home.
If you are looking for the best quality retractable screen doors in the marketplace, how to frame a porch screen door, how to measure door frame for screen door, then you should go for Sidinga Retractable screens. These best quality retractable screen doors have a wide variety of colors to choose from and they are also very cost-effective
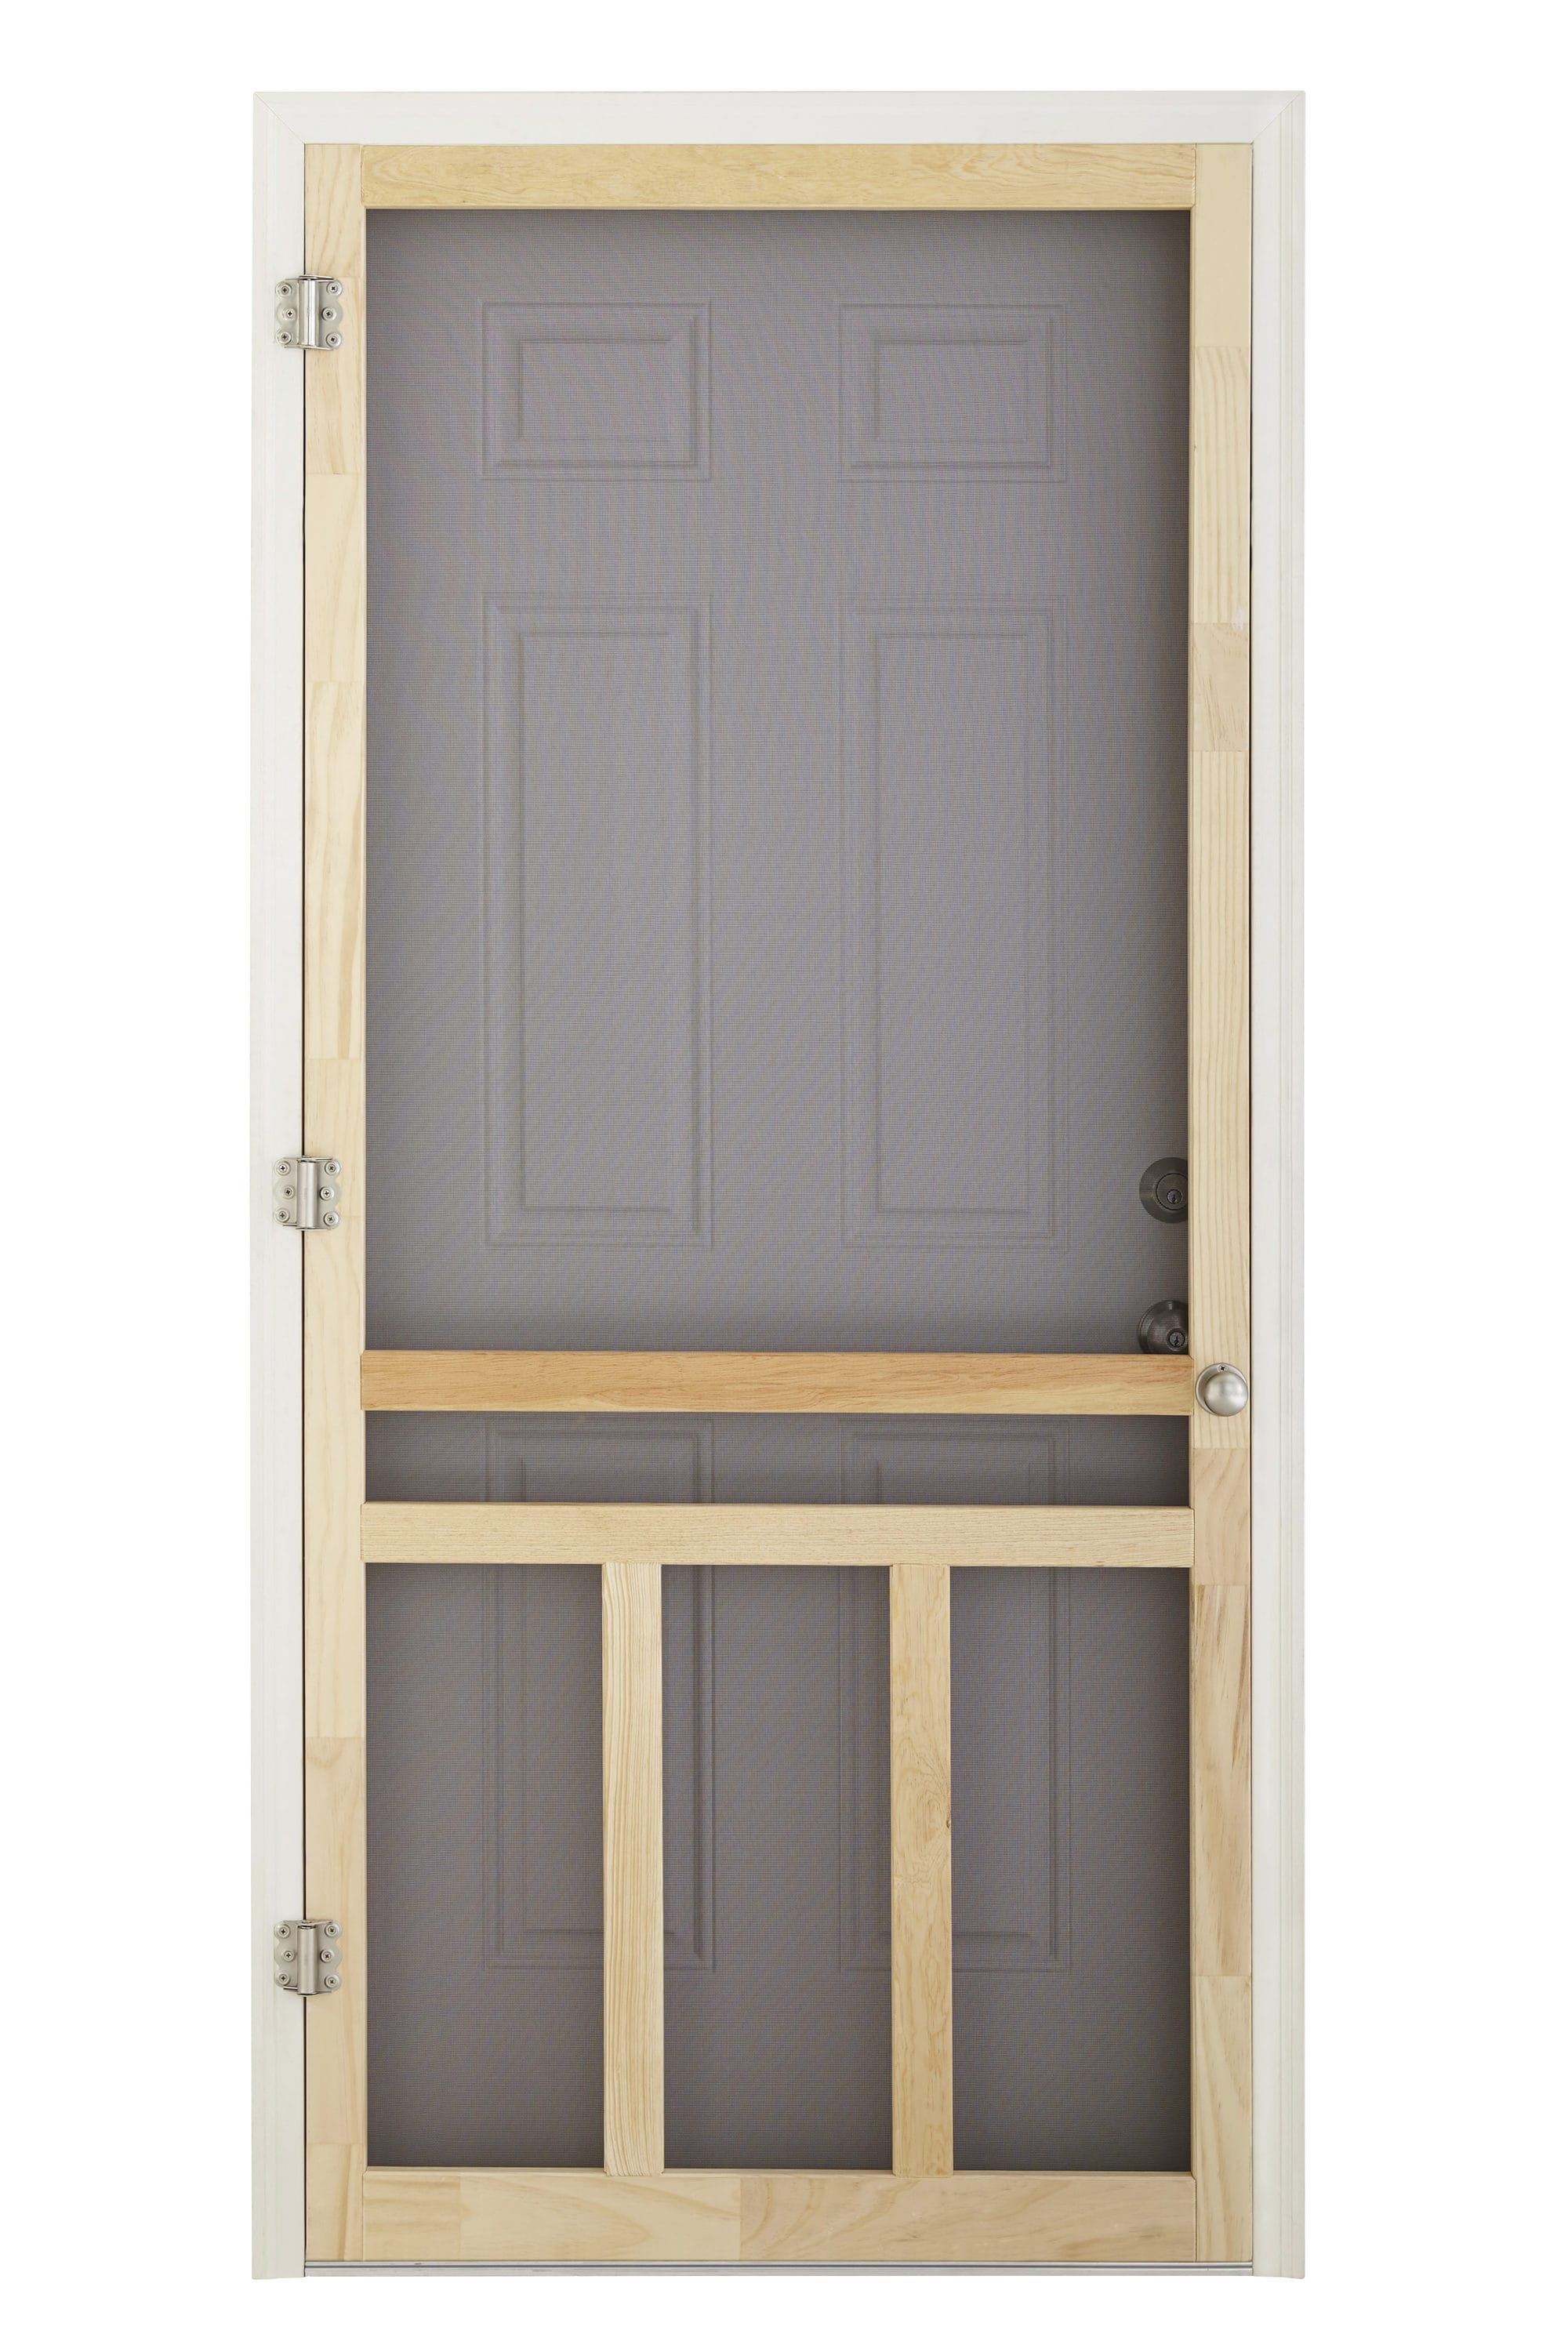
Screen doors with frame
A screen door can be a great addition to your home. It provides you with the opportunity to enjoy some fresh air without worrying about bugs getting into your home. If you’re looking for a way to add a screen door to your home, then you’ll want to follow these steps:
Measure the opening of your porch and get the measurements down on paper. This will help you determine what size of door you need and where to cut the wood pieces.
Cut 2x4s and 2x6s into pieces that are long enough for your door frame. You should use pressure-treated wood if you have termites or other pests in your area.
Use 1/2-inch plywood as a base for your door frame and then attach it with screws or nails. Leave room around the edges so that there is an allowance for attaching trim boards later on. You may also want to screw or nail some 1″ x 2″ boards along each side of the plywood base so that they form an “L” shape with the plywood base attached at 90 degrees from each other in order to create a stronger frame for your screen door frame (see photo above).
How to Frame a Porch Screen Door
A porch screen door is a great addition to your home, but you’ll need to build a frame for it. The frame will allow you to install the screen door and also allows you to have a decorative piece around the opening of your porch. You can choose from several different materials when building your framing for the door.
Measure the opening in your porch. Measure from one side of the opening to the other, then subtract 1/4 inch from each measurement for wiggle room.
Cut two pieces of 2×4 lumber at this length with a miter saw or table saw. Cut four pieces of 2×4 lumber at this length with a circular saw or table saw.
Lay two pieces of 2×6 lumber across two pieces of 2×4 lumber as shown below:
Place these two boards across two pieces of 2×4 lumber so that they meet at right angles (90 degrees). Fasten them together using 3-inch screws driven through pilot holes drilled into each board’s edges. Repeat this step for each corner intersection on your porch screen door frame
Screen doors are a great way to keep insects out of your home and your family safe. If you want to install a screen door, you will need to know how to measure for the frame. You can also learn how to build your own screen door frame if you do not want to buy one from the store.
How to Measure for Screen Door Frame
The best way to measure for your screen door frame is from the inside of the opening of your porch or door. Start by measuring from the very top of the opening down until you reach where you want your screen door top rail to be placed on each side. This will give you an approximate length for each side of your screen door frame.
Now take those measurements and transfer them over onto some plywood so that you have something that resembles a rectangle shape when looking at it from above. Cut out this shape so that it fits inside the opening without touching anything else in the room or on the walls around it. Now use this piece as a template while cutting out more pieces from plywood until all 4 sides have been cut out and fit into place in their respective openings. These pieces should all fit tightly together without any gaps between them or around them
Screen doors are a convenient way to keep bugs out of your home, but they can also be an eyesore. Screen doors with frames offer a more attractive alternative to the flimsy plastic ones you’ll find at home improvement stores.
It’s easy to build your own frame for a screen door with some simple tools and materials you probably already have around the house. If you’re not sure what type of wood to use or how to cut it, check out our video on How to Cut Wood at Home.
If you’re just looking for some ideas or inspiration, check out our gallery below for some great examples of DIY screen door frames.
A screen door is a popular addition to any home. Not only do they offer the added benefit of keeping bugs out, but they also add style and value to your home. Screen doors are easy to install, but there are a few things you need to know before buying one.
Here are some tips on how to measure screen door frames:
Measure from top to bottom of the opening, including any trim that may be present. This measurement will tell you how tall your new screen door needs to be.
Measure from left to right of the opening, including any trim that may be present. This measurement will tell you how wide your new screen door needs to be.
How to frame a porch screen door
The door frame for a screen door is built the same way that you would build any other door frame. The only difference is that it doesn’t need to be as strong, because it will not support as much weight as an interior door. However, if you are going to use a solid wood screen door instead of one that has wire mesh in it, then you should make sure that your frame is strong enough to support the weight of the wooden door itself.
When deciding where to place your porch screen door opening on your house, make sure that there is enough clearance between it and any other doors or windows on your home. You also want to make sure that there is enough space between the top of the opening and the bottom of any overhangs or eaves on your home. This will keep rain from leaking through and ruining anything inside your home or underneath your porch roof.
You should also consider where you want people walking when they come up onto your porch from their cars when deciding where to place this opening in relation to other things on your property like driveways or sidewalks.
How to Frame a Porch Screen Door
Measure the width of the doorframe. Use a tape measure and measure from the top left corner to the bottom right corner, then add 1/2 inch for each side. This measurement is your doorframe width.
Use a tape measure and measure from the top left corner to the bottom right corner, then add 1/2 inch for each side. This measurement is your doorframe width.
Measure the height of your doorframe from the floor up to where you want your screen door to be installed on your porch. This measurement is called “height above finish floor.”
Add 1/4 inch for each side of your doorframe’s height above finish floor, plus 1/4 inch for each side of your doorframe’s width above finish floor. These measurements will give you an overall dimension of how deep you need to make your frame before installing it into place.

How to Frame a Porch Screen Door
A porch screen door is a great way to keep bugs out and let fresh air in. The problem is that they can be expensive and tricky to install. If you’re going to do it yourself, we recommend using our step-by-step guide below.
1) Measure the opening for your porch screen door.
2) Lay down a chalk line on each side of your opening, using the measurements from step 1 as guides.
3) Measure the height of your existing door frame and subtract 3/4″ from that measurement (this will account for the thickness of the new frame). Cut two pieces of 2×4 lumber at this length and nail them into place between the chalk lines you made earlier. You’ll need two 2x4s per side—one near the top and one near the bottom—so make sure these measurements are consistent on both sides.
4) Measure from one end of each 2×4 piece (where it meets your door frame) down to where you want your new screen door latch to be located on each side; mark those locations with a pencil or marker so you know where to cut later on (about 10″).
How to Frame a Porch Screen Door
A porch screen door can be a great addition to your home, but it will look and work best if it’s installed properly. If you are planning on installing a new screen door or replacing an old one, here are some tips on how to frame a porch screen door.
Measure the opening: The first step is measuring the opening where your new screen door will go. This helps ensure that you buy the right sized door and also allows you to determine how much trimming needs to be done on the sides of the frame so that it fits perfectly into place.
Build a frame: Once you have measured your opening, select lumber (2x4s) that is at least one inch longer than the width of your doorway. Cut two pieces of wood for each side (left and right) of your doorway and nail them together into a rectangle shape using nails or screws. It’s best not to use nails when building with wood because they can easily pull out from under pressure or when things get hot and expand/contract over time (i.e., during summer months).

A screen door adds a touch of class to any porch or entryway. It also keeps insects out, making it a practical addition to your home. Screen doors come in many sizes and materials, but they all need some sort of frame to hold them in place.
The easiest way to frame a screen door is with wood. You can use pressure-treated lumber or even 2x4s if you are on a budget. If you want something more attractive than plywood, consider using cedar or redwood instead.
Measure the width of the opening where you want your screen door installed then add 1/8 inch for each side and top and bottom rail. For example, if your doorway measures 28 inches wide, order 29-inch lumber for your frame parts (28 x 1/8). Then cut each piece exactly that size at least 3 inches longer than the opening width so there will be enough room for trimming later on.
Mark all four corners of each board with an X so you know which way is up when installing them into place (this will be important when attaching them to one another). The top rail should be centered along the top edge of each piece; this will help keep everything level once installed in place.