How to build a gaming desk
If you’re a gamer and you haven’t built your dream gaming desk, chances are you’ve already put much more thought into it than most people have. Here, I’m going to talk about the best materials to use, my personal experience with building one and everything I learned along the way.
I’ve been trying to do this for a while, but was struggling to get everything I wanted in my gaming desk. Now that I’ve learned a lot more about building desks, diy floating gaming desk
diy l shaped gaming desk gaming desk ideas ikea I’ve built a stunning gaming desk that I’m so proud of.

How to build a gaming desk
A great gaming desk will allow you to set up your computer, monitor and peripherals in a way that’s comfortable for you. It’ll allow you to play games at the highest settings with minimal input lag and maximum responsiveness.
This guide will show you how to build a gaming desk from scratch. Don’t worry, it’s easier than it looks!
The best part about building your own desk is that you can make it exactly how you want it. If you don’t have the tools or skills to do this yourself, there are plenty of companies that will build custom desks for you at a reasonable price.
Here are some ideas to get the ball rolling:
– Diy floating gaming desk
– Diy l shaped gaming desk
– Gaming desk ideas ikea
A gaming desk is a desk that is specifically designed for people who want to play video games. They are normally made with ergonomic features and they also have a lot of storage space.
There are many different types of gaming desks available, but you can also make your own. Here are some ideas for how to do this:
1. DIY Floating Gaming Desk
This is a simple design that requires basic tools and materials to make it work. It’s perfect for those who don’t have a lot of time or experience in carpentry or woodworking. The floating shelf design gives you extra storage space and makes the desk look more interesting than an ordinary table would be.
2. DIY L Shaped Gaming Desk
This type of design offers more storage space than most other designs, but it also allows you to position your chair at different angles depending on how you want to sit while playing your games. This is another simple design that doesn’t require any special skills or tools to make it work effectively. It’s also very affordable compared with other types of gaming desks available on the market today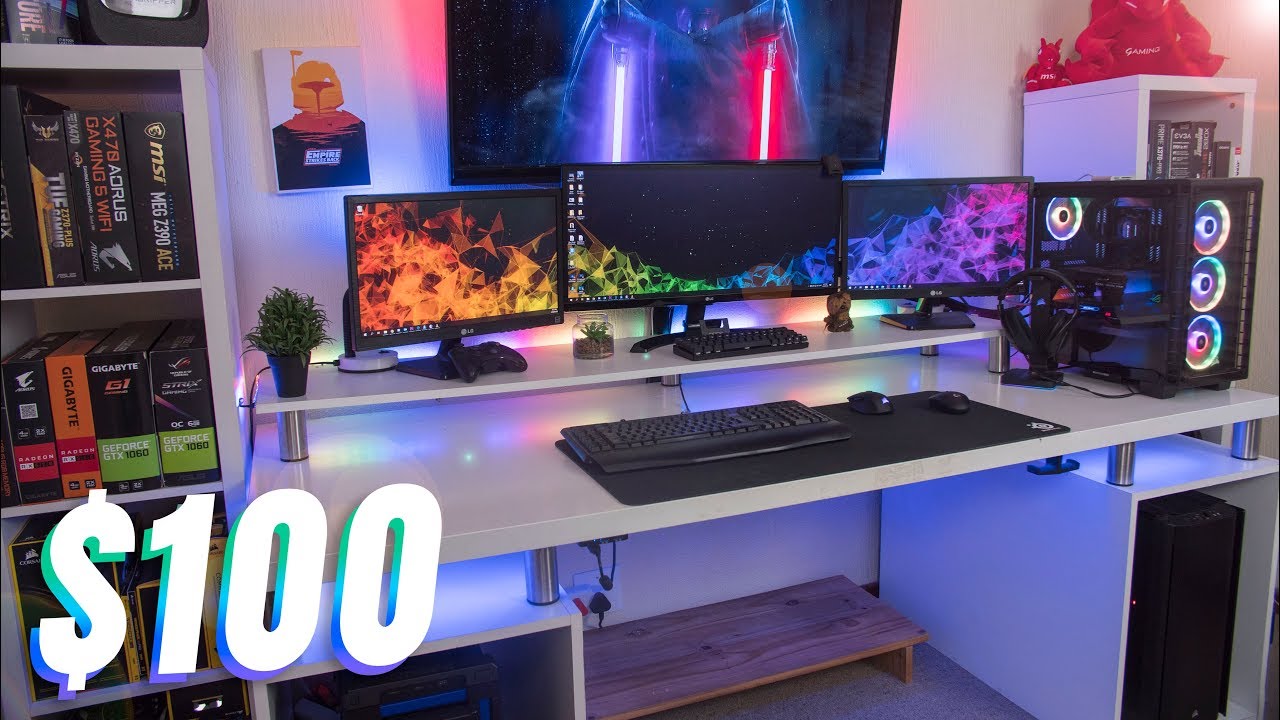
3. DIY Gaming Desk Ideas Ikea
DIY gaming desk ideas
1. IKEA Lack floating desk
The Ikea lack desk has become a popular choice for DIY gaming desks because of its low cost, but it is also a great option if you want to build your own custom desk. The lack is a modular system that lets you add pieces in any combination you like. You can even use the lack as a standing desk if you want to take a break from sitting down all day. The lack has been used for many different types of gaming setups and it’s easy to find inspiration online for how others have put them together.
There are many different ways to build a gaming desk and the best thing about them is that they are easy to make. You can use wood, metal or plastic. Some people choose their materials depending on the colors they prefer while others choose the materials based on their budget.
The first step is to measure the area where you want your gaming desk to be placed. Then, draw a rough sketch of what you want it to look like and add dimensions to it. Once done with this, go ahead and buy all the necessary materials for your new gaming desk.
Once you have bought your supplies, it is time for step two; cutting down all of the pieces that you need for assembling your gaming desk. The amount of cuts will depend on how many pieces you want in your finished product, but we recommend that you start with making at least four cuts per piece so that there is enough space between each piece when building it together later on.
Now that all of your pieces are cut out, it is time for step three; assembly! This should not take too long as long as you have everything cut correctly and in place before starting assembly (and if not then just re-cut). If there are gaps between any parts then use some glue or screws to secure them together
The best way to build a gaming desk is by using 2×4’s and plywood. You can use any type of wood you want, but I prefer pine because it’s cheap and durable.
1. Make sure you have the right tools: You’ll need a table saw, jigsaw, drill, and (if you’re using pine) some sort of wood glue or epoxy.
2. Cut your 2×4’s: Cut them so that they’re about 8″ longer than your monitor(s). Also cut one piece for the front edge of your desk (this will be where you rest your keyboard when not in use). This piece should measure about 6″ long by 24″ wide (it doesn’t matter if it’s longer than this because we’ll cut it down later on).
3. Cut your plywood: Cut two pieces of 1/4″ plywood to size and sand them smooth on both sides so that they’re level with each other (this will be the top surface of your desk). Sanding isn’t absolutely necessary but it makes everything look nicer and makes it easier to paint/stain later on down the road if you want to do so.
4. Drill holes into the 2×4’s using an appropriately
If you’re looking for a cheap gaming setup, then a desktop computer is your best bet. You can get some great deals on a prebuilt desktop from companies like CyberPowerPC and Dell. Alternatively, you can build it yourself with a parts list from Amazon or Newegg. The latter option gives you more control over the price, but it’s also more of a hassle than buying something ready-made.
I wanted to get into PC gaming but didn’t want to spend hundreds of dollars on a new computer. I had an old laptop lying around that I could use as my dedicated gaming PC.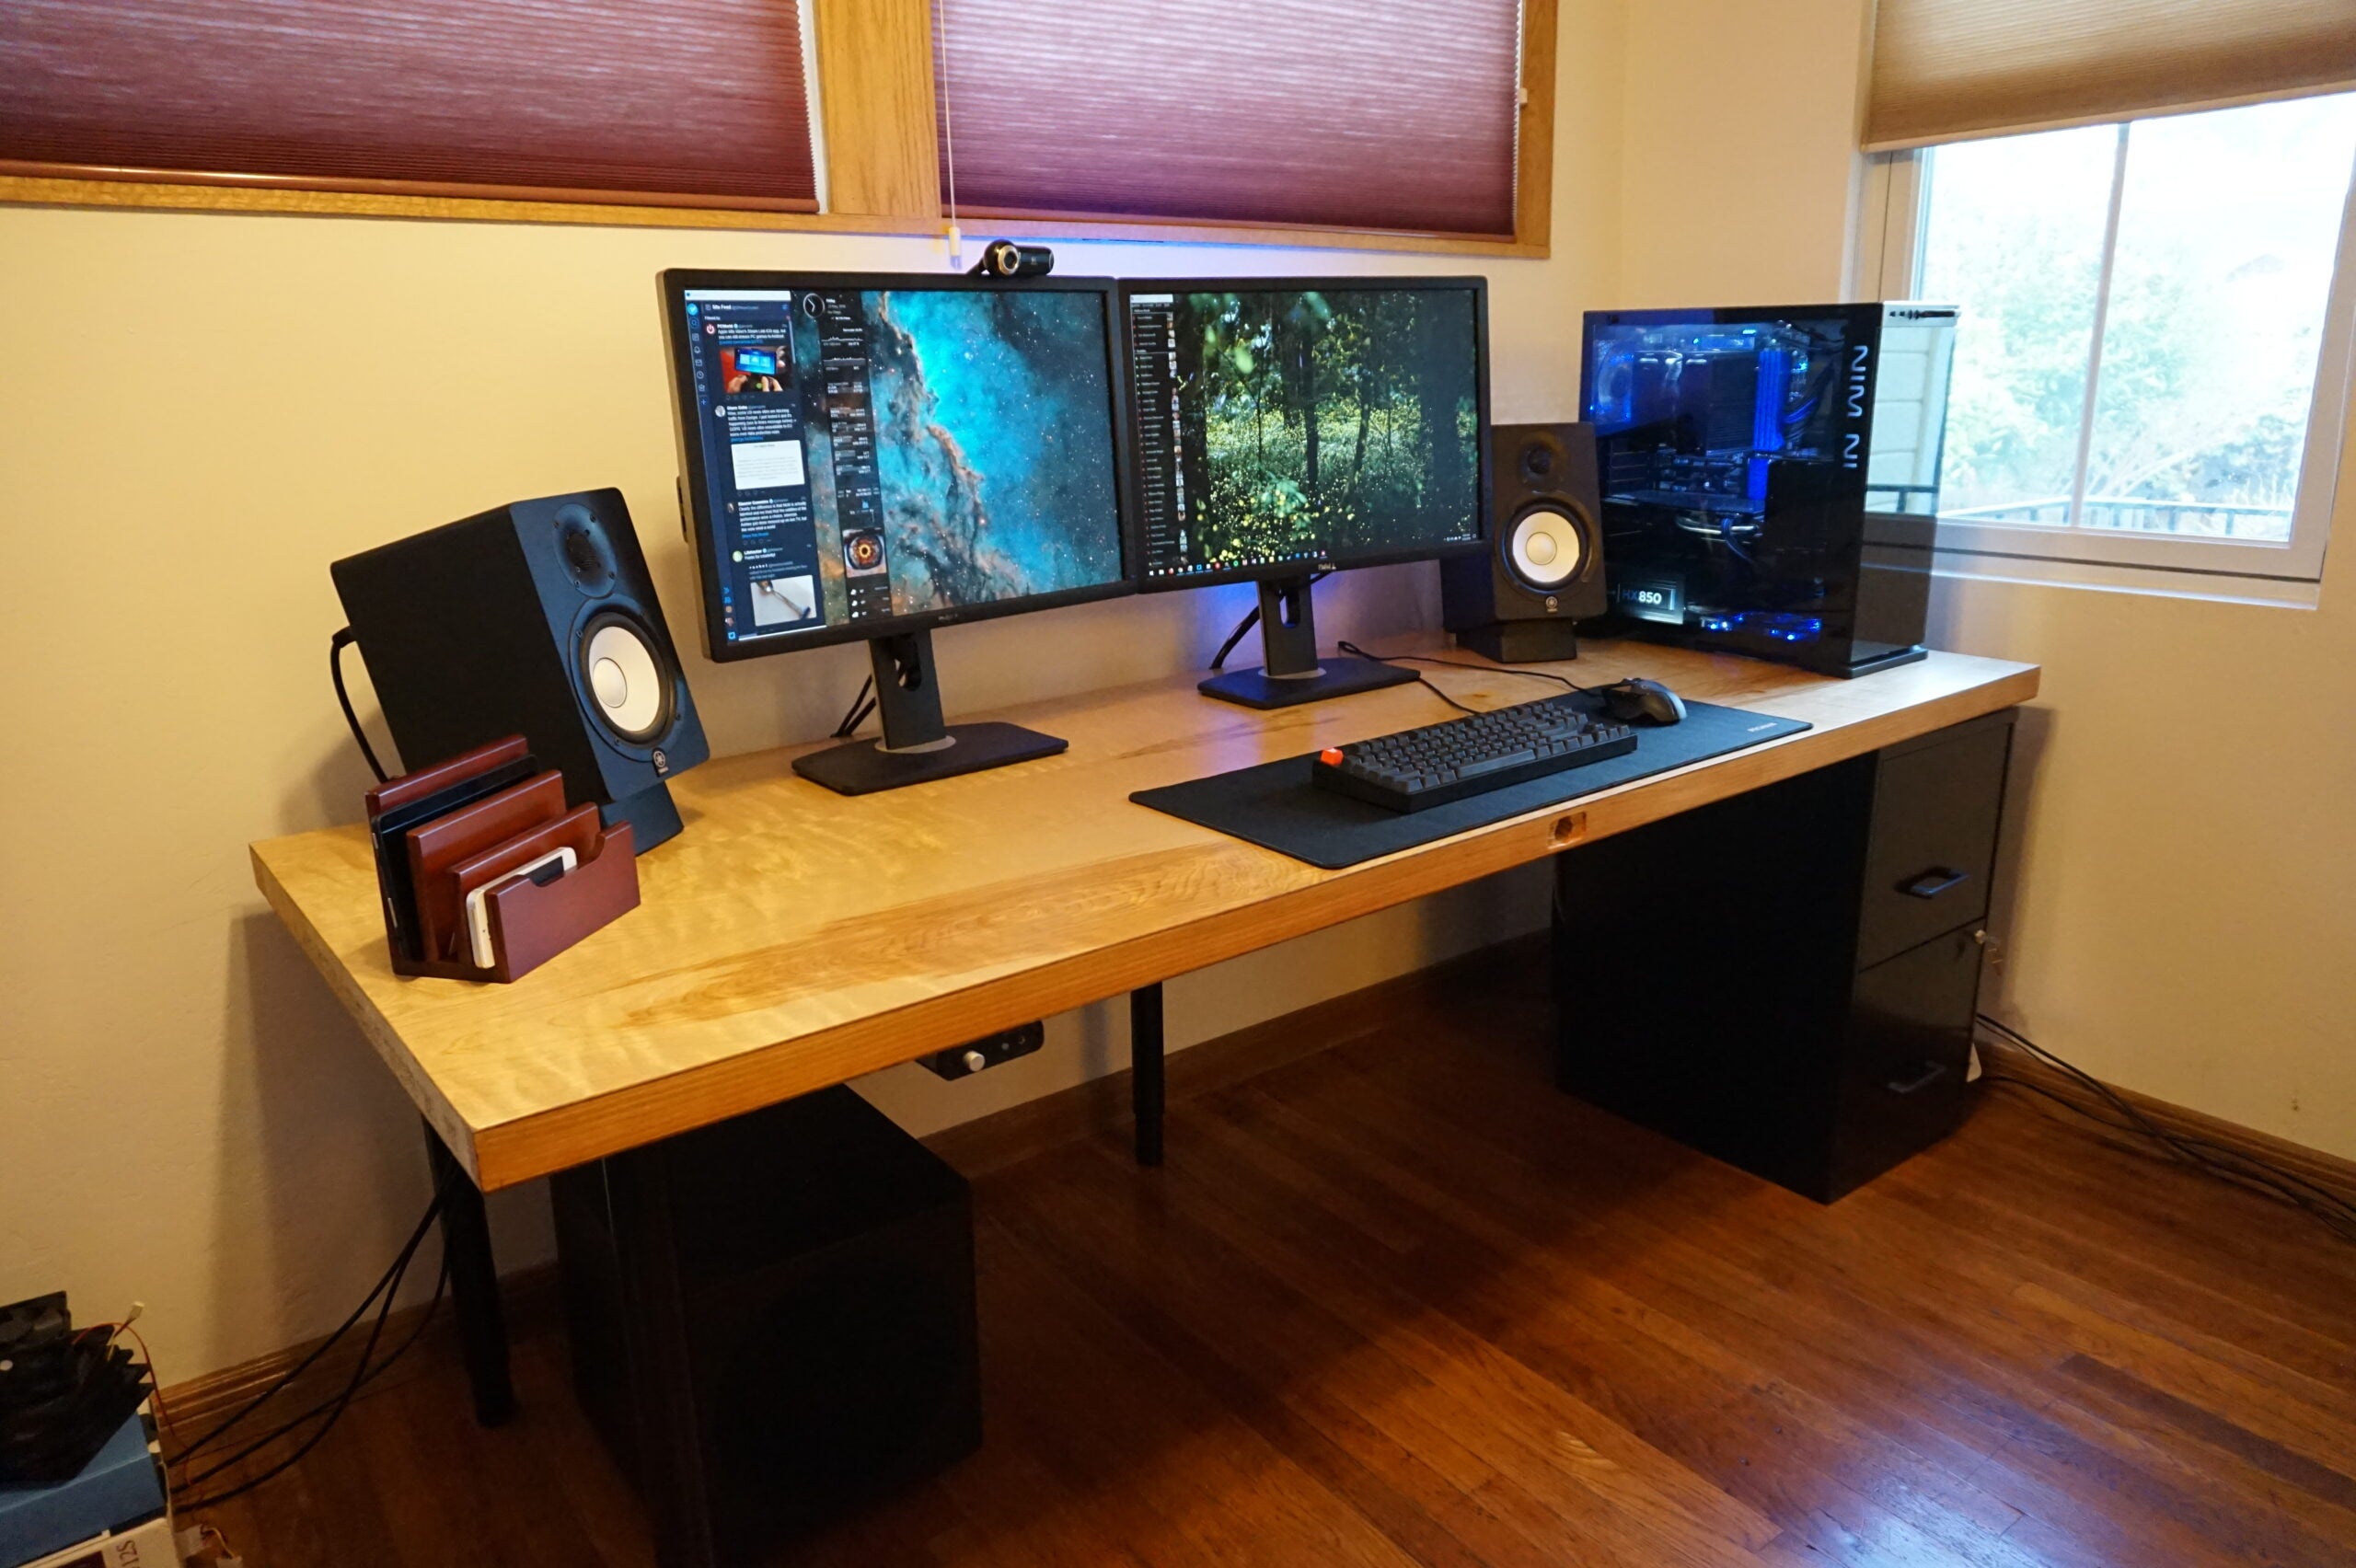
How to Build DIY L-Shaped Gaming Desk
Diy floating gaming desk, diy l shaped gaming desk, gaming desk ideas ikea. This is a simple DIY floating gaming desk, I made this because I didn’t have the money to buy an expensive one from Best Buy or Amazon.
This is how it looks:
DIY Floating Gaming Desk
The first thing you will need is a wooden board. The size of the board depends on the size of your room. You can use any type of wood, but make sure it is strong enough to support the weight of your computer.
You should also have some nails and screws at hand, as well as a measuring tape and pencil.
The next step involves drawing the outline of your desk onto the wooden board with a pencil. We recommend drawing a rectangle that is as wide as possible so that there will be enough space for all of your equipment. You can also add some curves in order to create an interesting shape for your desk.
After this, we recommend using nails or screws to secure all four corners of your desk to the wall above it (as well as any other place where you want). If you need help with this step, we recommend reading our article about how to build an entertainment center from scratch!
The DIY gaming desk is a simple, inexpensive, and functional desk. The entire project cost me about $100.
The design of the DIY gaming desk is fairly simple. It was built with a 2×4 frame and 2×6 legs. I also used 2×4 framing for the desktop. This is just enough to support a 20″ monitor and has enough room underneath for a keyboard and mousepad.
I started by building the legs first. I used a Kreg Jig to pocket-hole all of my joints together. A pocket hole jig is a simple device that allows you to attach two pieces of wood together using pocket holes (holes drilled in the end grain). The pocket holes are hidden when glued together so they don’t show in your finished product.
Next I attached my tabletop to my legs using pocket-holes again and some screws. I used 3/4″ birch plywood for both parts of my table top because it’s strong enough to support the weight of whatever equipment you put on it but still reasonably inexpensive compared to other types of wood or particle board.
Finally, I added some casters so that I can roll my desk around if needed (although I don’t think this would be very practical since there
If you’re looking for a cheap and easy way to build a computer desk, look no further. This tutorial will show you how to make a simple yet functional computer desk for under $20.
This DIY computer desk is a great project for anyone who wants to save money by building their own furniture. This design is simple, sturdy, and functional. It can be used as a laptop stand or even as a standing desk if you want it high enough.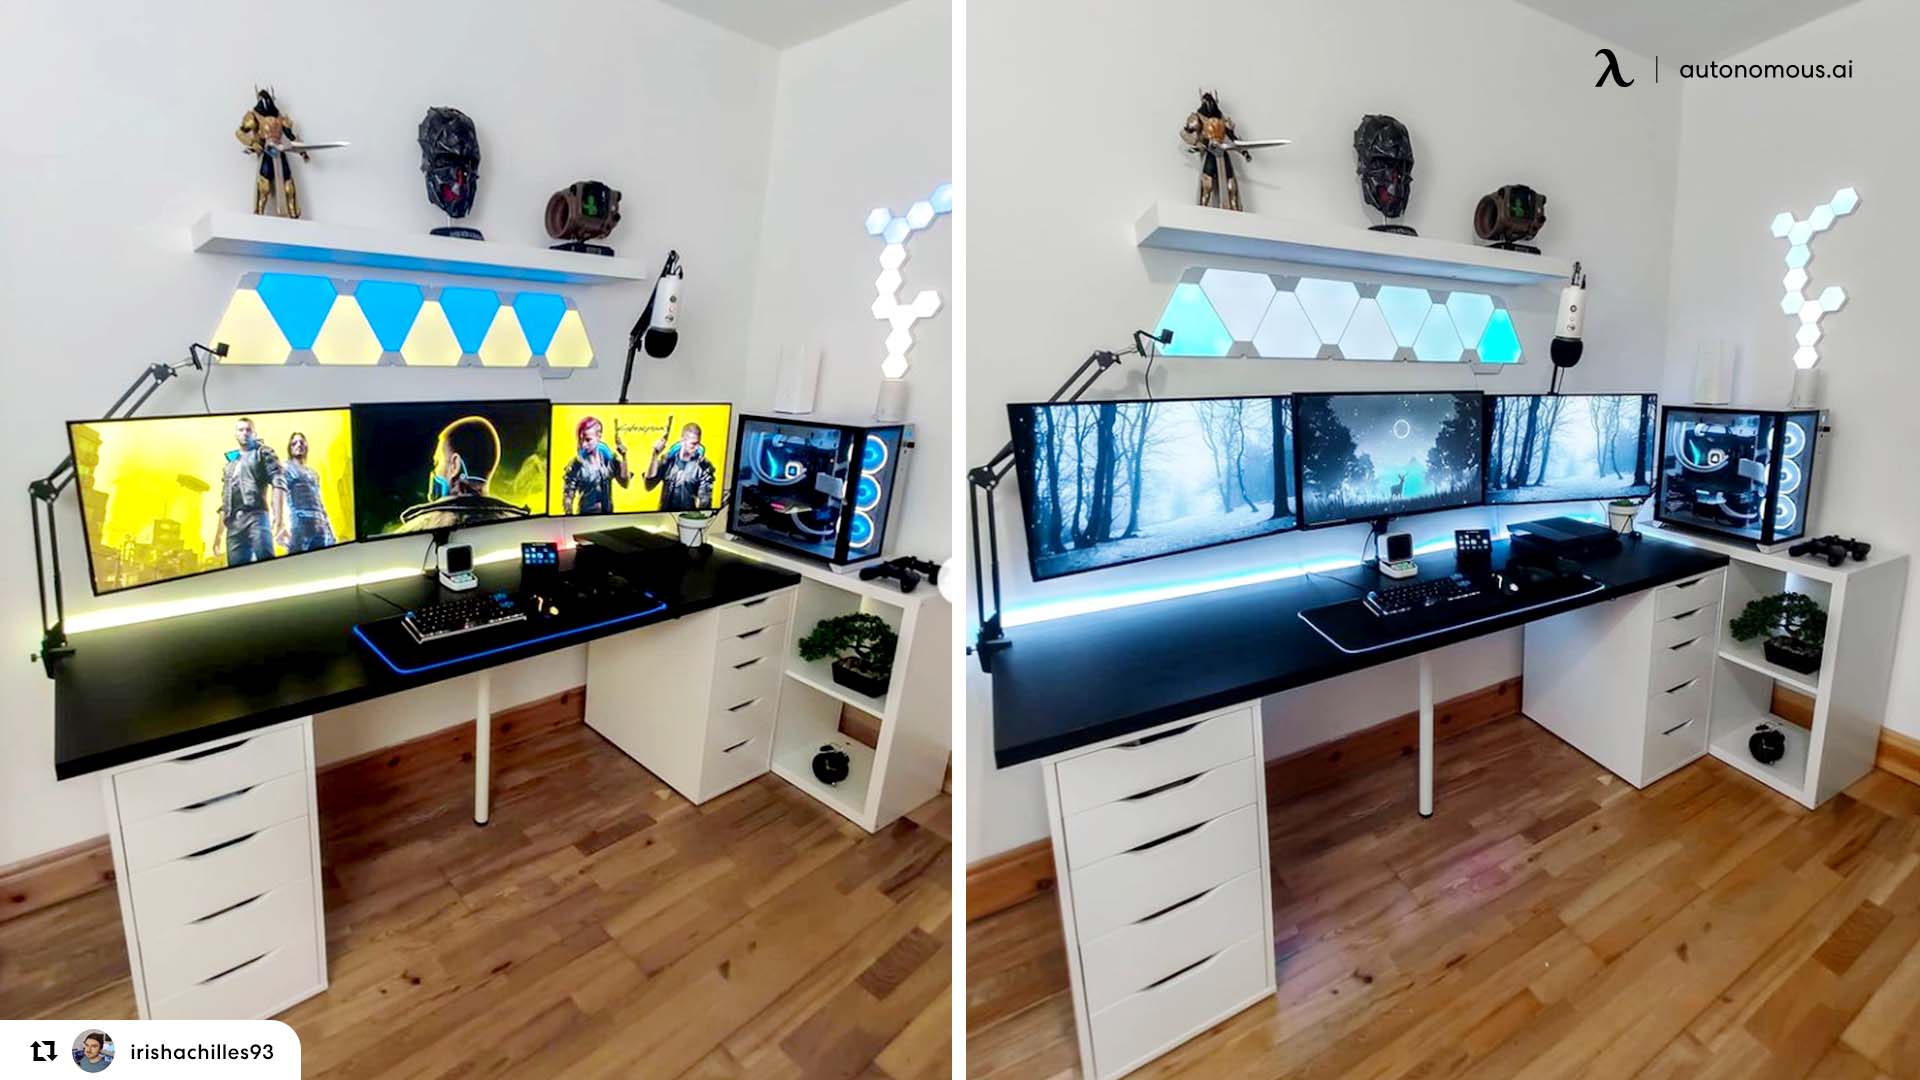
The materials needed are:
-A 2x4x8′ board (or any other length)
-1″ thick plywood panel or MDF board (enough to cover the front and back of your desk)
-A sheet of 3/4″ plywood or MDF (this will be used as the desktop)