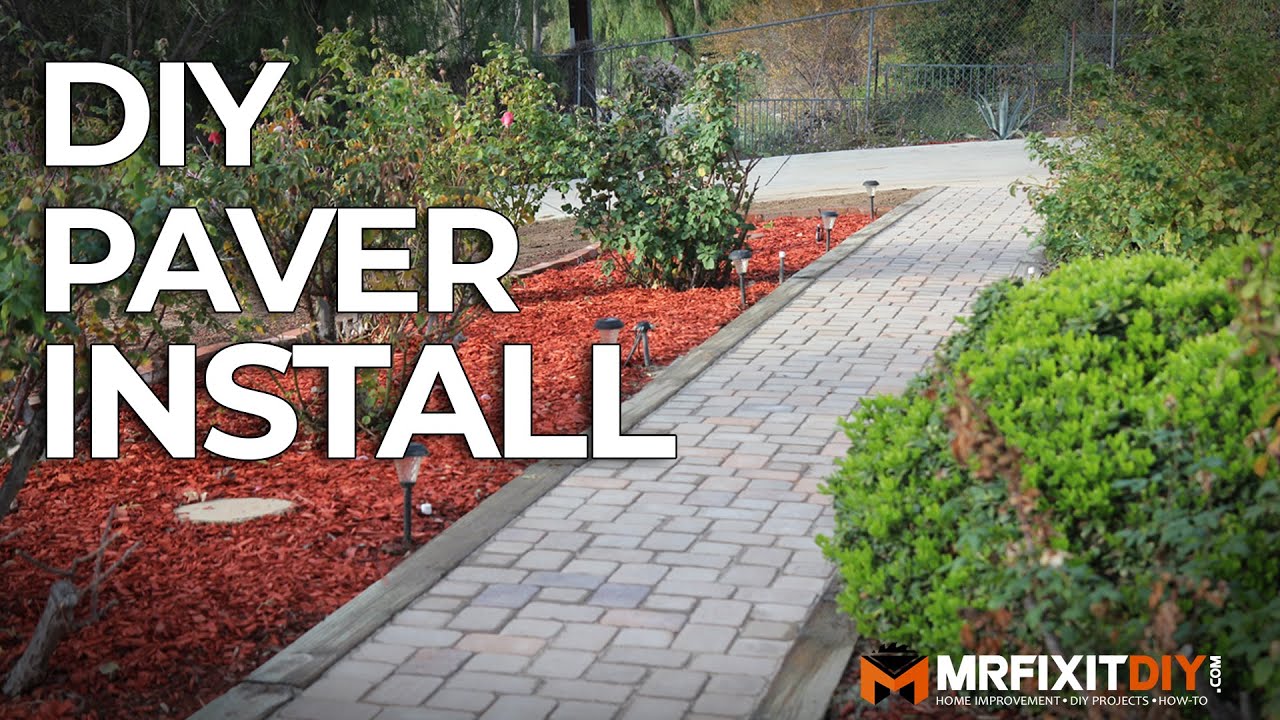
How to build a pathway with pavers
In 2011 we built a pathway that takes you from our front door to the side of our home. The pathway connects two patios and is a short way to get from one place to another. We were amazed that something we had worked on for only a few weekends could make our backyard look so finished. Here is how we built it and the materials we used.
A long time ago, before I had a family, I laid a pathway of pavers at my home. I had always wanted to do this and finally, one day, I decided to make it happen despite not having any previous experience with laying paving slabs. Now, I was lucky — the ground was gravel already so all I had to do was lay the paving slabs in between the gravel. If you have grass then you will need to dig out ditches for the paving before you can start

How to build a pathway with pavers
A walkway is a great way to create an outdoor living space. It can also add value to your property, especially if you’re selling it. However, building a walkway can be expensive and time-consuming. Instead of paying contractors hundreds or thousands of dollars, learn how to build one yourself with these step-by-step instructions from DIY Network.
How to make a walkway cheap
If you want a new walkway but don’t want to spend money on it, here are some ideas for making one that costs less than $50 in materials (not including tools):
Build with cinder blocks or bricks: Cinder blocks are inexpensive and easy to find at home improvement stores. You can lay them side by side or stack them vertically for a more interesting look. Bricks are another option if you want something more decorative than cinder blocks. If you have time and energy, consider adding decorative elements like edging or mosaics between the pavers to personalize it even more.
Make your own stepping stones: If you’re not interested in spending money on materials but still want a nice-looking walkway, consider making your own stepping stones out of concrete
Pavers are a cost-effective, easy way to create a walkway in your backyard. They’re also easy to install and maintain. If you’re looking for a DIY project, here’s how to lay pavers yourself.
Pavers are compacted pieces of concrete or stone that form a rigid surface. They’re available in many different shapes and sizes and can be used both indoors and out. Pavers are most commonly used as patio and driveway materials because they have the ability to withstand heavy traffic.
Step 1: Plan Your Walkway
Before you start building your new walkway with pavers, it’s important to first plan out its layout so you know where each paver needs to go. Start by measuring out the area where you want your walkway and marking it with stakes or string lines. Then measure along the string or stakes for each paver location so that when you go back later with actual pavers, you’ll know exactly where each one needs to go (i).
Step 2: Lay Out Your First Row of Pavers
Now that you’ve got your outline drawn up, it’s time to start laying down
Pavers are a popular choice for walkways and patios. They’re durable, easy to install and available in a wide range of colors, shapes and textures.
Here’s how to choose the right paver for your project and lay it out properly.
Step 1: Measure the area
Start by measuring the area where you want to install your walkway. Then, divide it into sections that are no more than 4 feet long (this will make it easier to handle). For example, if your project is a 20-foot-long path that’s 4 feet wide, you’ll need 20 sections of 4 feet by 4 feet each.
Step 2: Estimate materials needed
You’ll need enough 3/4-inch thick pavers to cover your entire area — plus some extra in case some of them crack during installation or if any are lost along the way (for example when children play on them). The exact number depends on how much space you have left after subtracting for pathways and other features in your landscape design
A paver walkway is a great way to create a unique and beautiful space in your yard. The process of laying the pavers is fairly simple, but it can be time-consuming. Here are some tips for laying a pavers walkway:
Choose the right material
The type of material that you use will depend on your needs, budget and personal preference. Some materials are easier to work with than others, while some are more expensive. Here are some options:
Brick: Brick is an attractive option that has been used for centuries. It comes in many different colors and sizes, so you can customize your project to suit your needs and tastes. Many people prefer brick over concrete because it looks nicer and lasts longer than concrete. It’s also easier to install than concrete because it doesn’t require as much digging or prep work before laying it down. However, brick tends to be more expensive than concrete because it takes longer to make each individual brick than concrete does — not only does this make the bricks more expensive per square foot but also increases the price of transportation because trucks have fewer bricks per load (especially if you’re transporting from far away). Also
Pavers are a great way to add a bit of style and functionality to your yard. They’re also incredibly versatile, making them an ideal choice for walkways, patios, driveways and other outdoor spaces. Here’s how to build a pathway with pavers:
Pavers come in many different shapes, sizes and colors, so you can choose the ones that best match your needs. The most common type is called a brick paver. These are rectangular blocks that are typically made from concrete or stone. Other types include hexagonal pavers and concrete pavers with holes in them for drainage.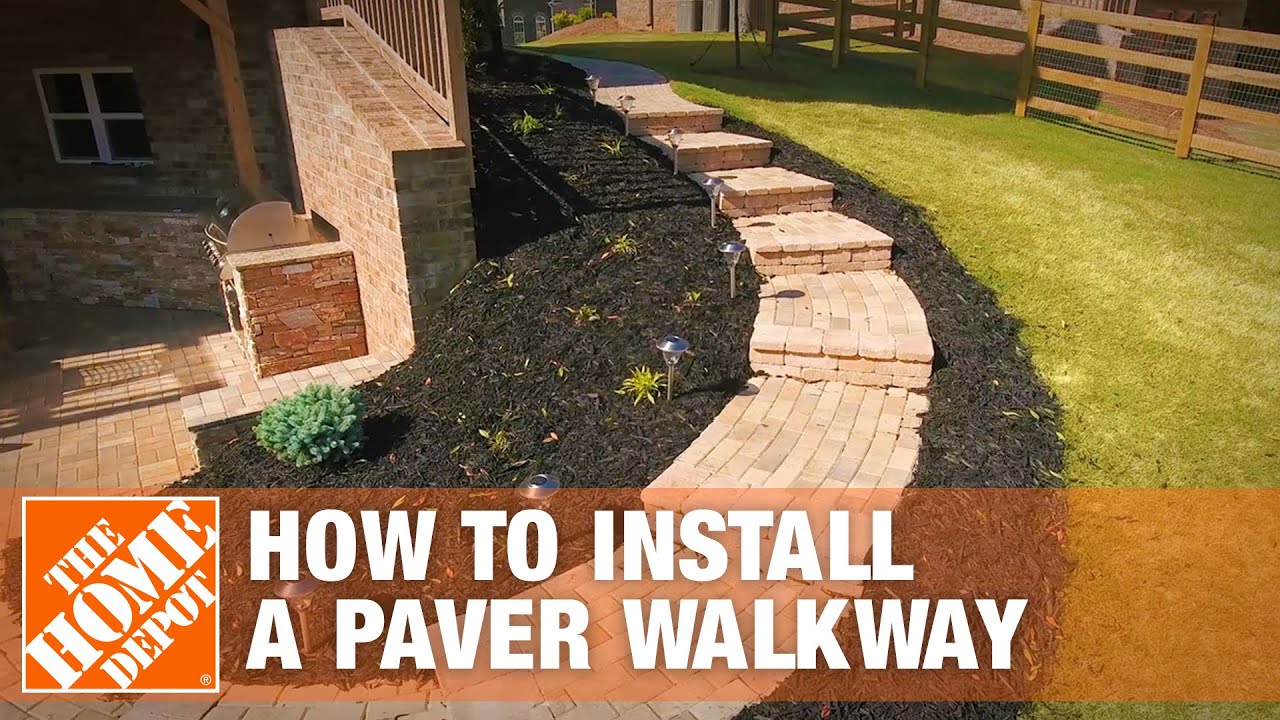
Step 1: Lay out your path
Before you start laying any pavers, it’s important to make sure that you have enough space for them. If you’re building a walkway or driveway, measure out where each paver will go based on its length and width so there will be enough room between each one for people or vehicles to pass through without bumping into each other. You might also want to consider how much space there needs to be between your house and the edge of your property line so there aren’t any conflicts with neighboring properties when they’re installed later on.