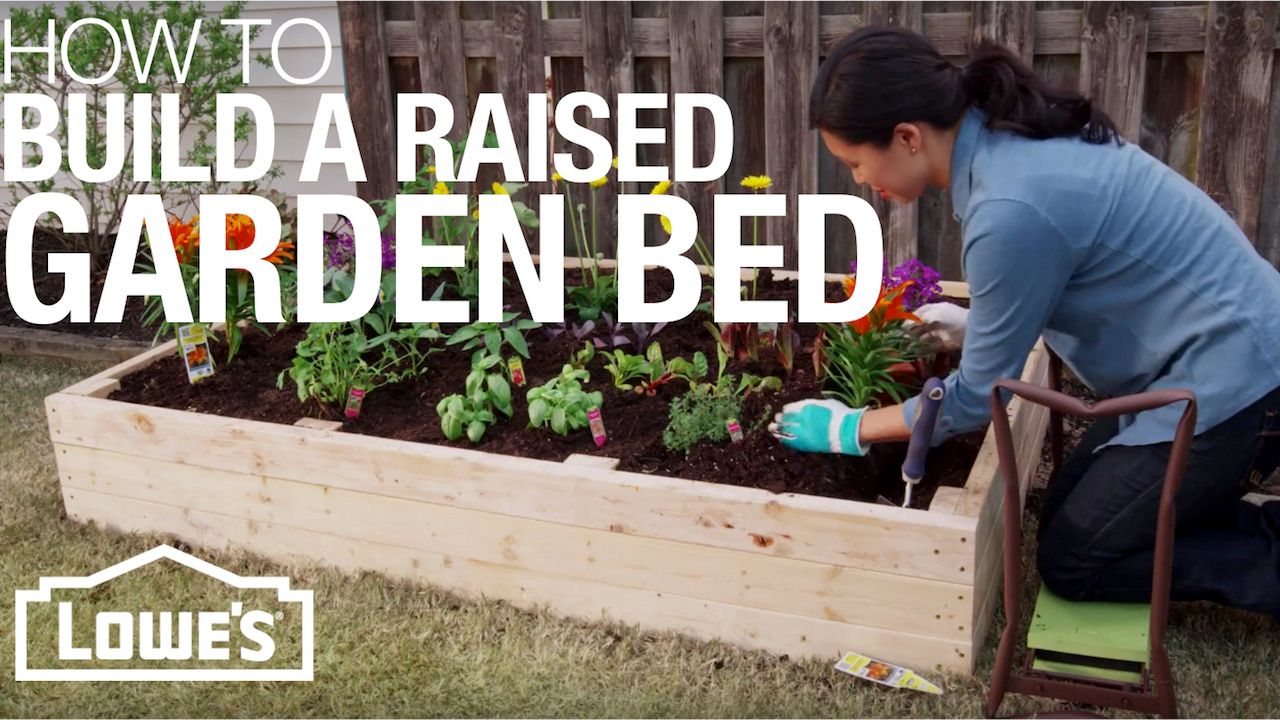
How to build a raised garden bed with wood
If you want to grow plants in your home or office, a raised garden bed is a great place to start. It’s easy to build, inexpensive and a great way to learn about organic gardening. The raised bed garden is simple to maintain, there’s no weeding and it will give you the opportunity to enjoy some fresh homegrown lettuce!
Raised garden beds are an excellent way to grow your own food. They are of multiple types, some having angled walls and sometimes including planting containers within. Whatever design is used, one thing is common: they all require building materials.
How to build a raised garden bed with wood
Building a raised garden bed is an easy way to create a productive and attractive garden space. A raised bed can be built from many materials, including wood and concrete blocks. A wood-framed raised bed is the easiest to build, but it can also be customized to fit your needs and budget.
Building a raised garden bed with wood involves measuring and cutting lumber into lengths that will support the height and width of your bed. The lumber can be any type of wood, but pressure-treated lumber is recommended for outdoor use because it resists rot better than untreated wood. You’ll also need screws or nails for attaching the boards together, as well as sandpaper or a sander to smooth out rough edges after assembly.
Step 1: Choose Your Materials
The first step in building a raised garden bed with wood is choosing what material you want to use for framing the structure. Pressure-treated lumber lasts longer outdoors than untreated lumber, but it costs more per board foot (a standard measurement for volume). If you’re working on a tight budget, consider using cedar or redwood instead of pine or fir for framing materials — these species are naturally resistant to decay without any additional treatment.

how to build a raised garden bed with scrap wood
Step 1: Measure and Cut the Wood
You need to cut the wood into three pieces. The first piece will be a square frame that will fit around your raised bed. The second piece is a frame that fits inside of the first one, but is smaller in size. You’ll use this piece to make a bottom for your raised bed. The third piece is a long, narrow strip that you’ll use to connect everything together.
Step 2: Attach the Frame Pieces Together
Once you have all of your pieces cut out, attach them together using screws or nails to create one solid frame for your raised bed. If you want to make it easier on yourself, you can use some sort of adhesive like construction adhesive or liquid nails as well. Make sure that you leave two inches on each side so you can attach boards later on for attaching your soil and covering with plastic sheeting (if desired).
Step 3: Attach Your Bottom Piece
Next, place your bottom frame on top of your second frame so that they fit together perfectly in an X shape (or whatever shape works best for what kind of garden bed you want). Then, screw or nail them together so they won’t move around while
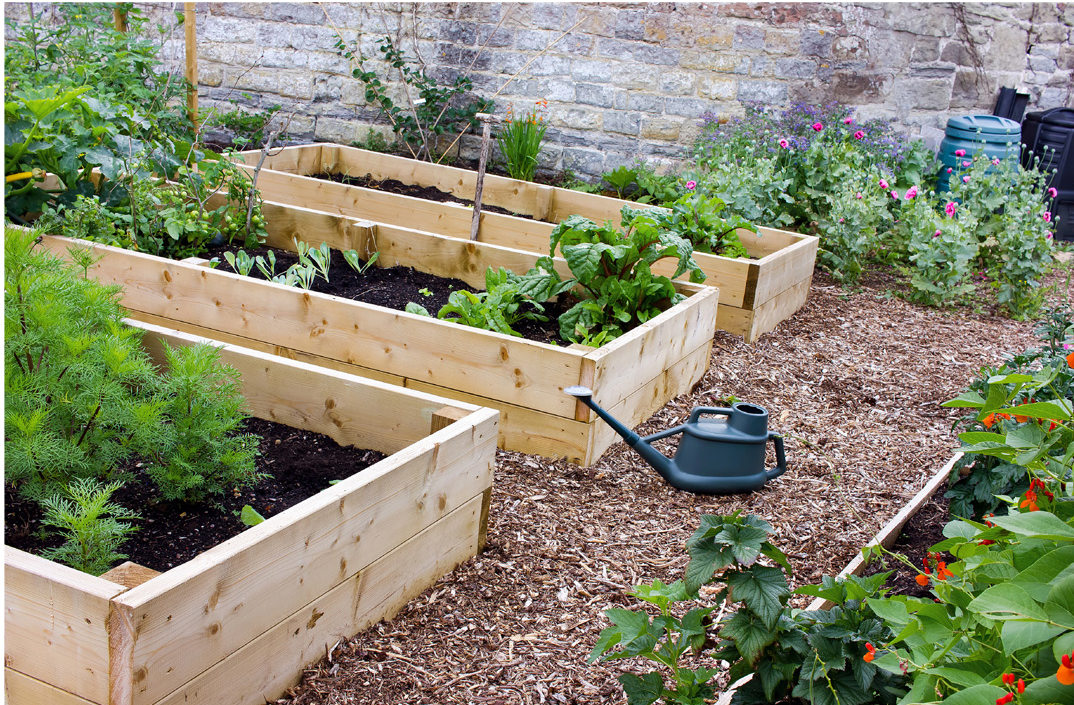
A raised garden bed is a great way to grow vegetables, herbs and flowers. It can be built with wood or recycled materials. A raised garden bed allows you to grow your plants in a compact space and is easy to manage.
A raised garden bed is also suitable for patios, decks and balconies. If you don’t have any outdoor space, you can build a small raised garden bed indoors on top of the floor or hang it from the ceiling.
The following steps will help you learn how to build a raised garden bed:
Step 1: Gather Supplies
The supplies needed for this project are as follows:
Wood (for making the frame)
Drainage material (gravel or perlite)
Soil (potting soil or compost)

how to build a raised bed with wood
A raised garden bed is a great way to grow your own food. You can make your own using wood, or you can buy one from a garden center. The easiest way to make a raised bed is with stacked cinder blocks.
The first step is to measure the length and width of your planned bed. Then lay out your cinder blocks on top of each other, in pairs, until they reach the correct height. It’s important that they are lined up correctly so that they are even with each other and don’t have gaps between them.
The next step is to fill the gaps with soil. If you don’t have any soil on hand, you can also use compost or dirt from your yard. Make sure that it’s well packed down so that there aren’t any gaps left between the blocks when it’s time to plant seeds or seedlings in your new raised garden bed.
Using a basic cedar raised bed as an example, the process is simple.
Build the frame. Cut a 2×6 to length on your miter saw and lay it across two sawhorses. Line up a piece of plywood with one end of the 2×6 and trace its outline on the wood. Repeat this step with other pieces of plywood until you have enough to fill in all the spaces between the posts.
Cut out the plywood pieces with your jigsaw or handsaw, then use sandpaper or a sander to smooth any rough edges. Attach each piece to the 2×6 with screws driven through pilot holes drilled into the end grain facing out from between each post (Photo 1).
Attach each side panel first, starting at one end and working your way across; then attach one end panel last. To make sure everything is square, measure diagonally from corner to corner every few inches while attaching end panels and check that they’re equal distances from each post—this will help ensure that all sides are exactly 90° angles.
Install cross braces at both ends of the bed frame using 3-in.-long screws driven through pilot holes drilled into both ends of each brace.